Preparing your RV for long-term storage is critical to prevent damage, avoid costly repairs, and ensure your campervan, Class C, or Class A motorhome is ready for your next adventure. Many owners overlook essential steps, leading to leaks, mold growth, mechanical failures, and battery issues.
Whether storing your RV for the winter, offseason, or extended periods, following a comprehensive preparation checklist will protect your investment and extend the life of your vehicle.
Why Long-Term Storage Preparation Matters
Even a short period of inactivity can cause wear if your RV is not properly maintained. Weather exposure, temperature fluctuations, and unmaintained systems can accelerate damage.
Common Problems During Storage
- Flat or damaged tires
- Battery depletion or failure
- Frozen or cracked water lines
- Mold and mildew in interior spaces
- Rodent infestations
Step 1: Clean and Sanitize the RV
Before storing your RV, thoroughly clean the interior and exterior. This reduces the chance of mold, mildew, and odors forming during storage.
Exterior Cleaning
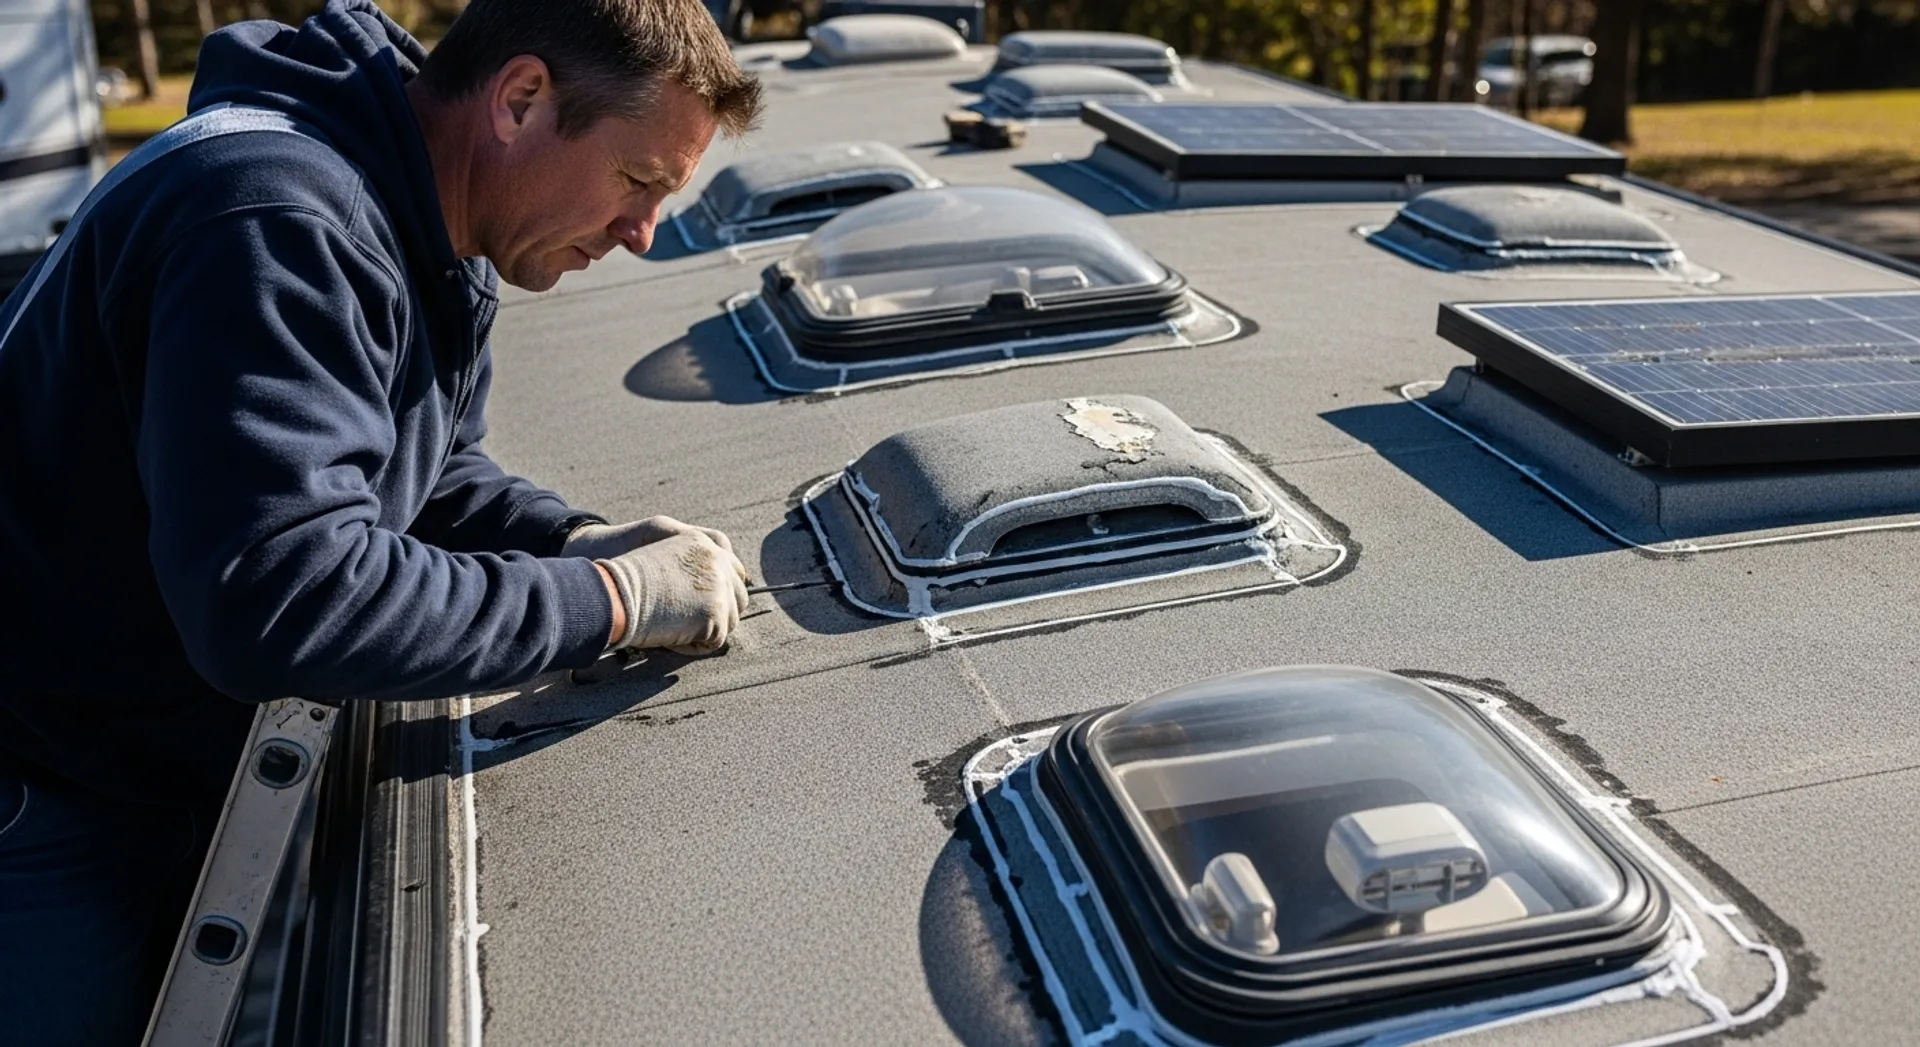
Wash the roof, windows, and siding to remove dirt, leaves, and sap. Waxing helps protect the finish from UV damage. While cleaning, take the time to inspect roof seals and sealants — our RV roof maintenance guide covers how to identify early signs of cracking and deterioration before they become leaks during storage.
Interior Cleaning
Vacuum floors, wipe surfaces, and remove leftover food from cabinets. Clean the refrigerator and leave doors slightly open to prevent mold. According to the EPA’s guide on mold and moisture, it is important to dry water-damaged areas within 24 to 48 hours to prevent mold growth, making a thorough pre-storage cleaning essential.
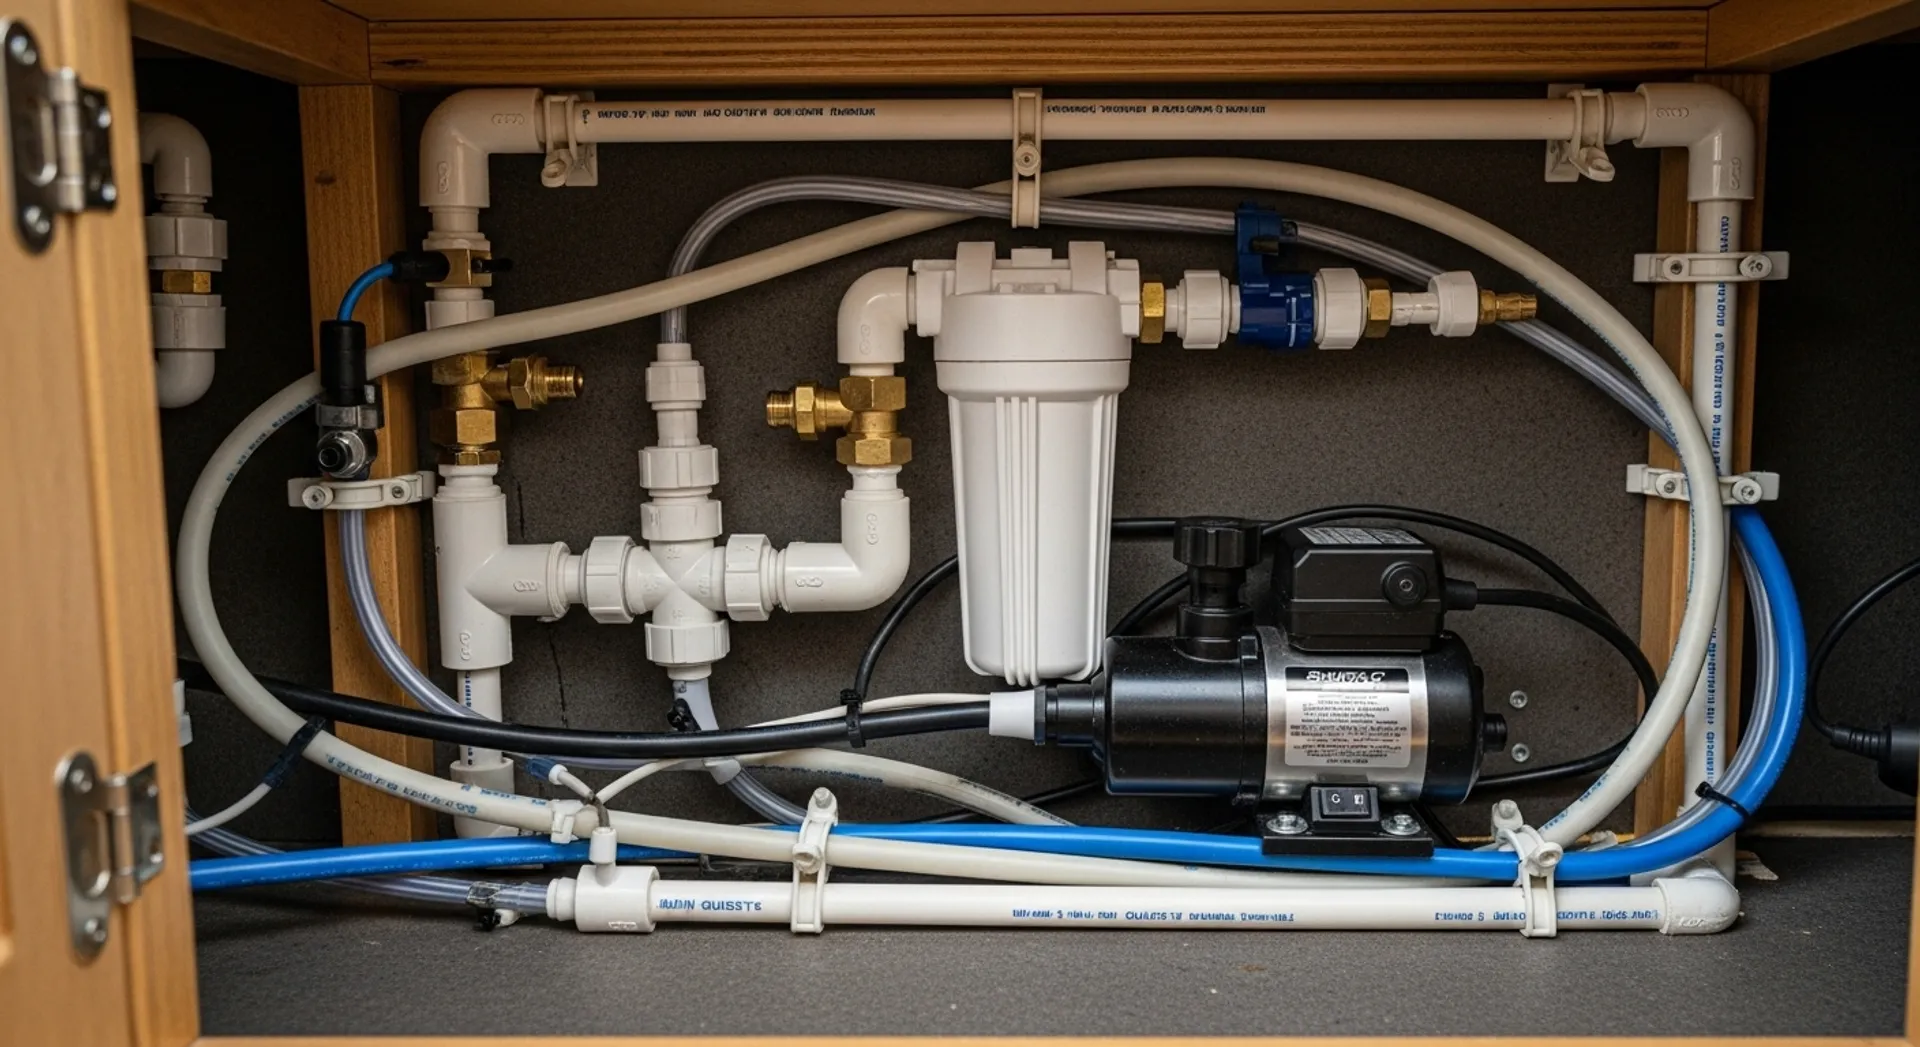
Step 2: Protect the Water System
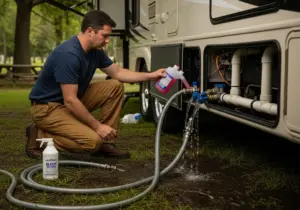
Water system preparation prevents frozen pipes, bacteria growth, and unpleasant odors. For a deeper look at how the fresh, gray, and black water systems work and common issues to watch for, see our full RV water system maintenance guide.
Drain Tanks and Lines
Empty fresh, gray, and black water tanks. Open faucets to drain all water lines. Be sure to also open the low-point drain valves and relieve any remaining pressure in the water heater to ensure no water is left sitting in the system.
Sanitize Fresh Water System
Sanitize the fresh water tank and lines using RV-approved bleach solutions to reduce bacteria during storage.
Winterization for Cold Climates
If temperatures drop below freezing, add RV antifreeze to water lines and pumps. Ensure all valves are properly set to prevent frozen pipes. The RV Industry Association (RVIA) stresses the importance of using RV-specific antifreeze rather than automotive antifreeze, as automotive products are toxic and can contaminate your potable water system.
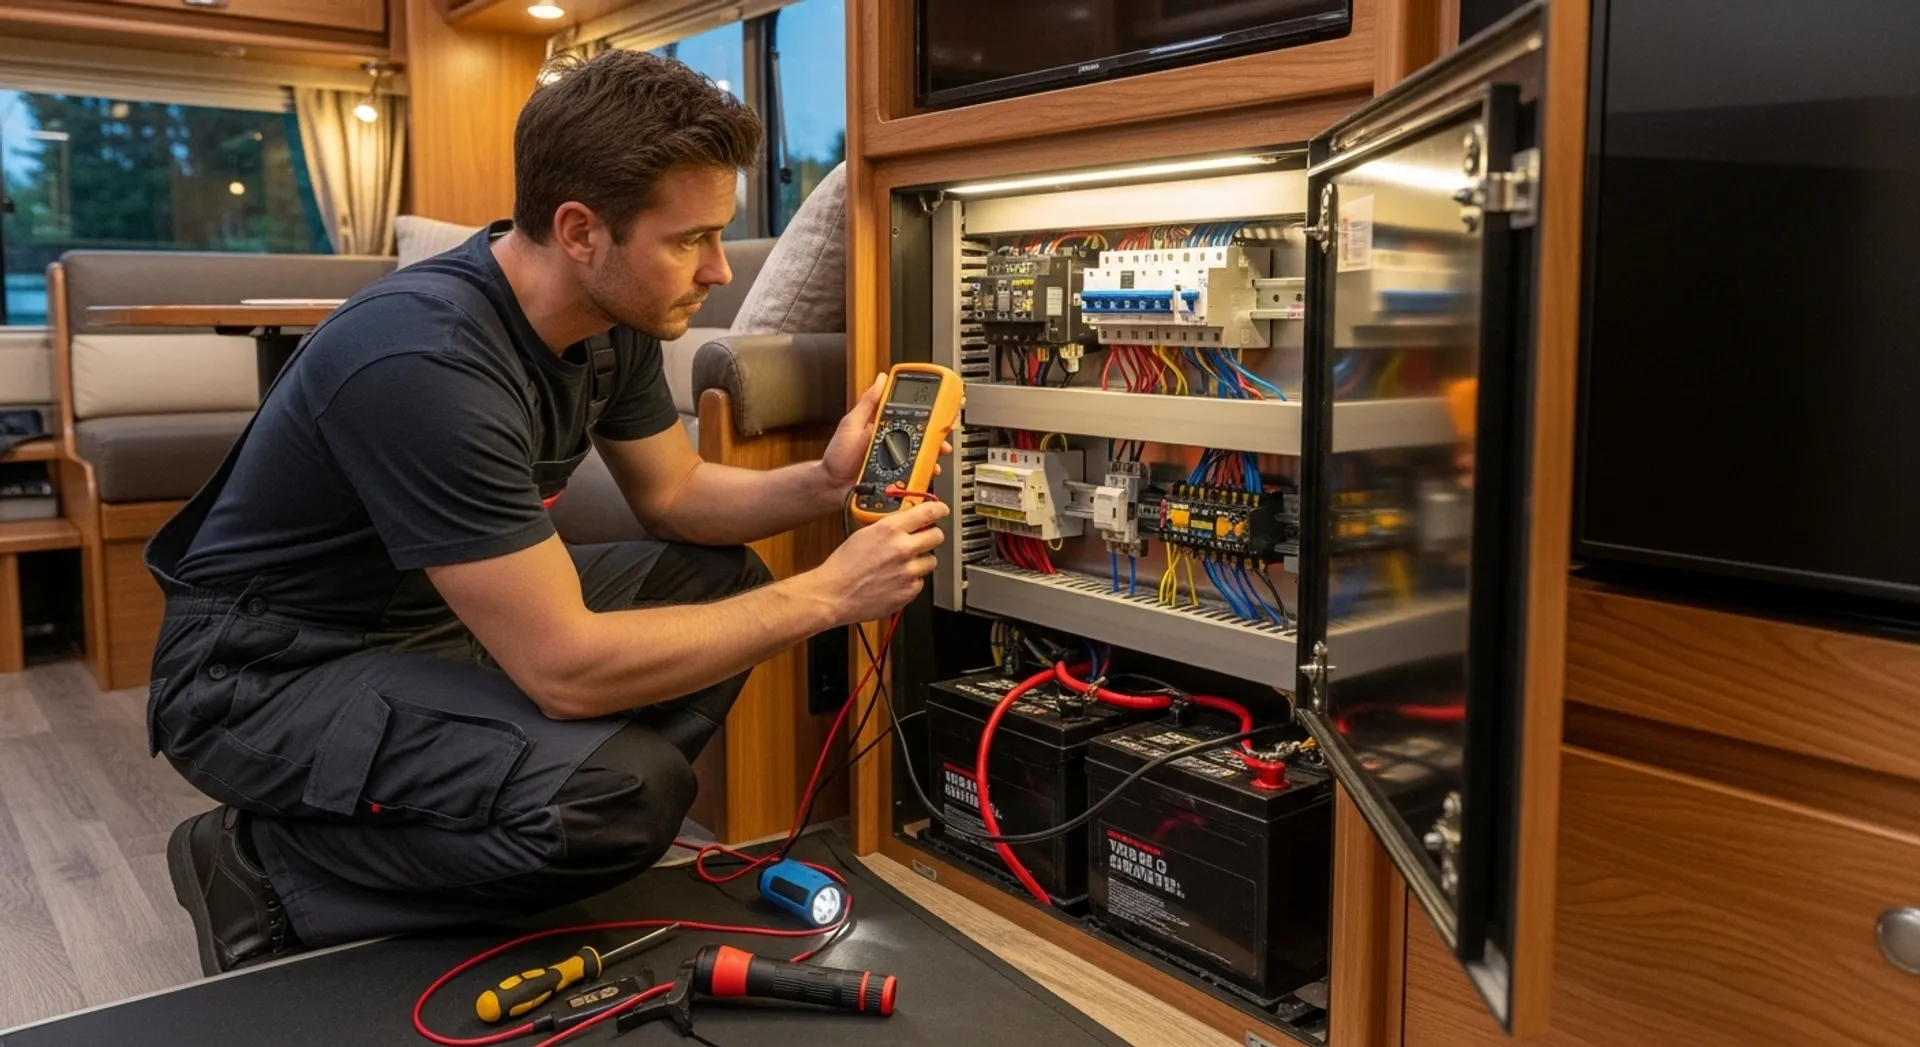
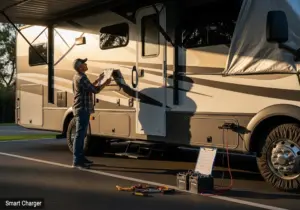
Step 3: Maintain Batteries and Electrical Systems
Batteries can discharge quickly if left unmaintained, potentially shortening their lifespan.
Disconnect or Charge Batteries
Either remove the battery and store it in a temperature-controlled area, or keep it connected to a smart charger that maintains optimal voltage.
Check Electrical Systems
Turn off all unnecessary systems, unplug from shore power, and inspect for corrosion on terminals or wiring. Electrical issues that go unnoticed before storage can worsen over time — our guide on common RV electrical problems can help you spot warning signs before they lead to bigger failures.
Step 4: Tire and Suspension Care

Proper tire and suspension maintenance reduces flat spots and damage over time.
Inflate Tires to Recommended Pressure
Check sidewall information and inflate to the manufacturer’s recommended PSI. Consider tire covers to protect from UV exposure. The NHTSA’s TireWise program recommends checking tire pressure at least once a month and notes that exposure to sunlight and infrequent use are key factors that contribute to tire aging and deterioration.
Use Jack Stands or Blocks
Take weight off tires for extended storage. This reduces flat spots and uneven stress on suspension components.
Step 5: Protect Against Pests and Moisture
Rodents, insects, and moisture can cause damage during storage.
Seal Openings
Use foam or mesh to block vents, roof openings, and other potential entry points for rodents.
Ventilation and Dehumidifiers
Keep moisture levels low to prevent mold growth. RV-specific moisture absorbers or small battery-operated dehumidifiers work well. Aim to keep interior humidity between 30% and 50%, and if possible, check on your RV periodically during storage to ensure moisture levels have not risen.
Step 6: Check Appliances and Fuel Systems
Fuel, propane, and appliance maintenance reduces risks and ensures systems work when you return.
Propane Tanks
Turn off propane at the tank and check for leaks.
Appliances
Clean refrigerator coils, run the air conditioner briefly to circulate refrigerant, and ensure stoves and heaters are properly shut off.
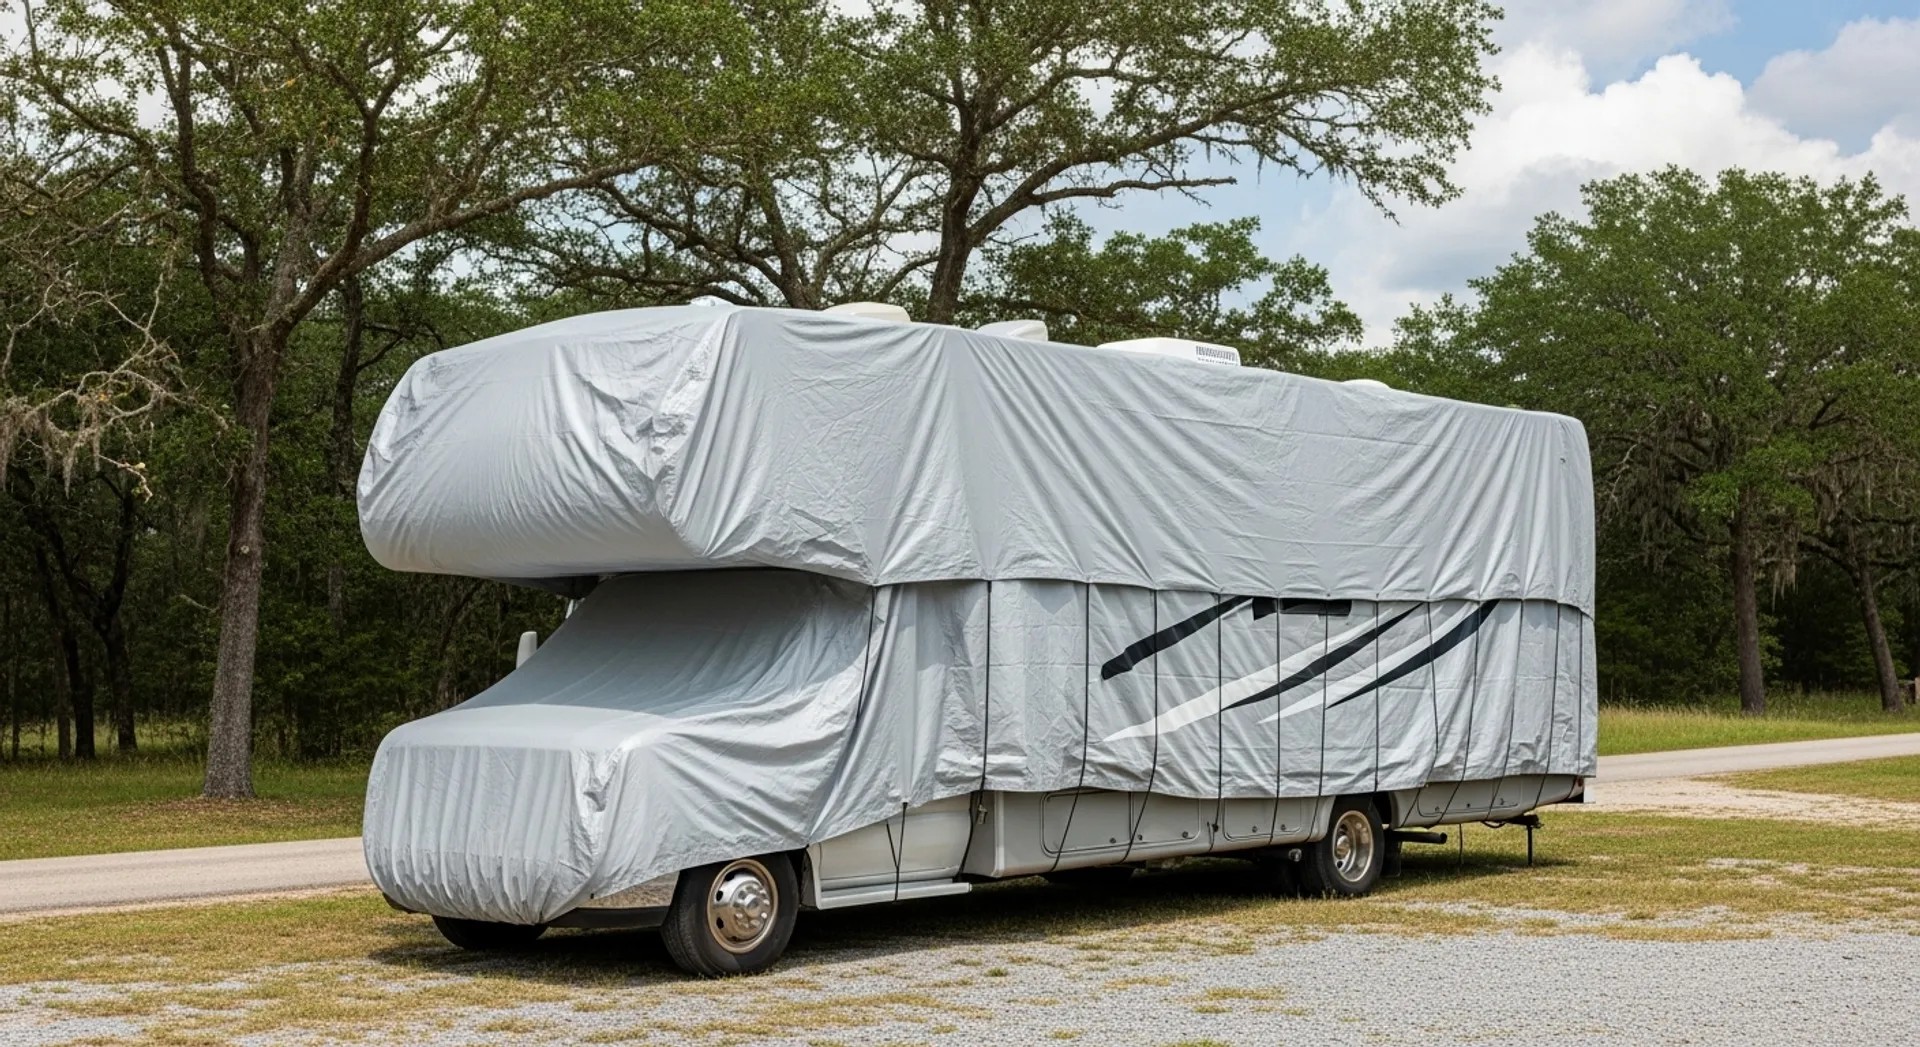
Step 7: Cover and Protect the RV
A quality RV cover protects against weather, UV rays, and debris. Ensure it is breathable to prevent mold underneath. If storing outdoors, choose a cover designed specifically for RVs that is both waterproof and vapor-permeable so trapped moisture can escape rather than condensing on interior surfaces.
Step 8: Document Your Storage Checklist
Keep a written checklist of all steps taken. When it’s time to use your RV again, this ensures no task is overlooked and reduces potential problems.
Additional Tips for Long-Term Storage
- Park on level ground or use blocks to stabilize
- Consider a moisture monitor or sensor for interior conditions
- Inspect periodically if possible, even in storage
- Rotate tires if the RV is stored outside for extended periods
Following these steps protects your RV investment and ensures a smooth start when your next adventure begins. For more preventive care tips, see our RV Library or return to the Heartland RV Repair homepage for additional maintenance guides.