RV roofs are one of the most critical yet often overlooked parts of campervans, Class C, and Class A motorhomes. Poor maintenance can lead to leaks, water damage, and costly repairs that compromise both safety and comfort. Whether you own a rubber, fiberglass, or aluminum roof, regular inspection and preventive care are essential to protect your investment. Understanding the different roof types and their specific maintenance requirements is key to extending the lifespan of your RV.
Types of RV Roofs
Understanding your RV roof type helps you choose the right maintenance methods and materials. For more information about different RV types and their structural features, check out our comprehensive RV vehicles guide.
Rubber Roofs
Commonly found on Class C and many motorhomes, rubber roofs are lightweight and flexible. However, they require routine sealing and UV protection to prevent cracking and leaks. Regular maintenance of rubber roofs can significantly extend their lifespan and prevent costly water damage.
Fiberglass Roofs
Fiberglass roofs are more durable and resistant to punctures but still require inspection for cracks, chips, and worn sealant along seams.
Aluminum Roofs
Aluminum roofs are strong and corrosion-resistant, but sealant around vents, seams, and edges must be maintained to prevent leaks.
How to Inspect Your RV Roof
Routine inspections catch potential issues before they develop into major problems. For detailed guidance on systematic inspections and troubleshooting, visit our troubleshooting and diagnostics section.
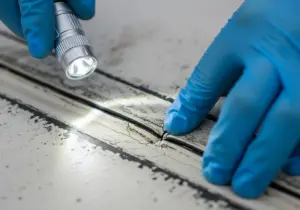
Visual Inspection
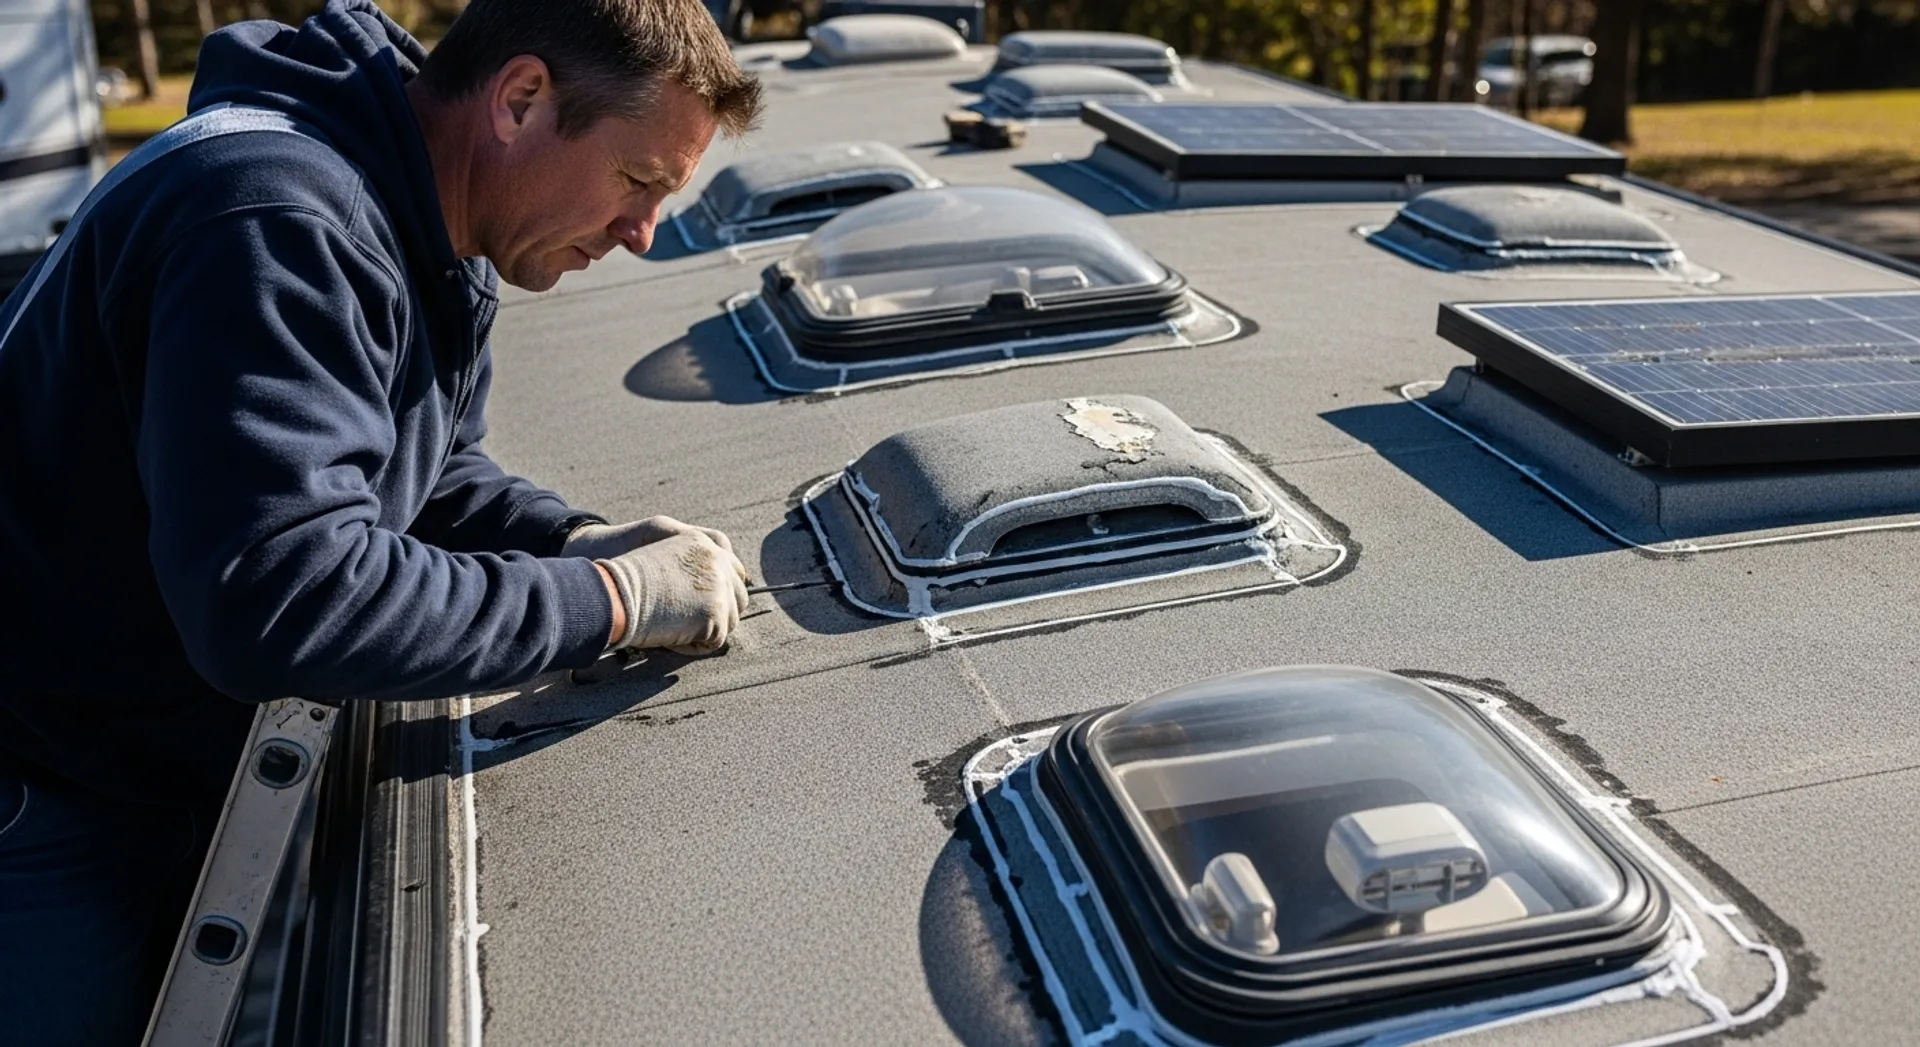
Look for cracks, tears, blisters, or areas where sealant is peeling. Check around vents, skylights, air conditioners, and edges of the roof.
Touch Test
Gently press and feel for soft spots or areas that flex more than the surrounding roof. These may indicate water damage underneath the surface.
Roof Seams and Flashing
Inspect seams, roof-to-wall joints, and flashing around equipment. Reapply sealant if you notice gaps, cracking, or shrinkage.
Preventive Maintenance Tips
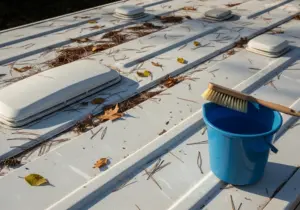
Regular Cleaning
Remove debris, leaves, and dirt from the roof to prevent moisture retention and deterioration. Mild soap and water are usually sufficient for routine cleaning. For more comprehensive preventive care strategies, explore our preventive care section.
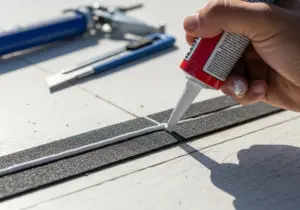
Sealant Inspection and Application
Check sealant around vents, AC units, and roof edges. Use manufacturer-recommended sealant to fill cracks or gaps. When selecting sealant products, consult the Consumer Reports guide on RV maintenance for product recommendations and best practices.
Protect Against UV Damage
UV rays can degrade rubber and plastic components. Consider using UV protectant sprays for rubber roofs to extend their lifespan.
Seasonal Inspections
Inspect your roof before and after long trips or seasonal storage. Cold weather, snow, and ice can create cracks, while heat can accelerate deterioration.
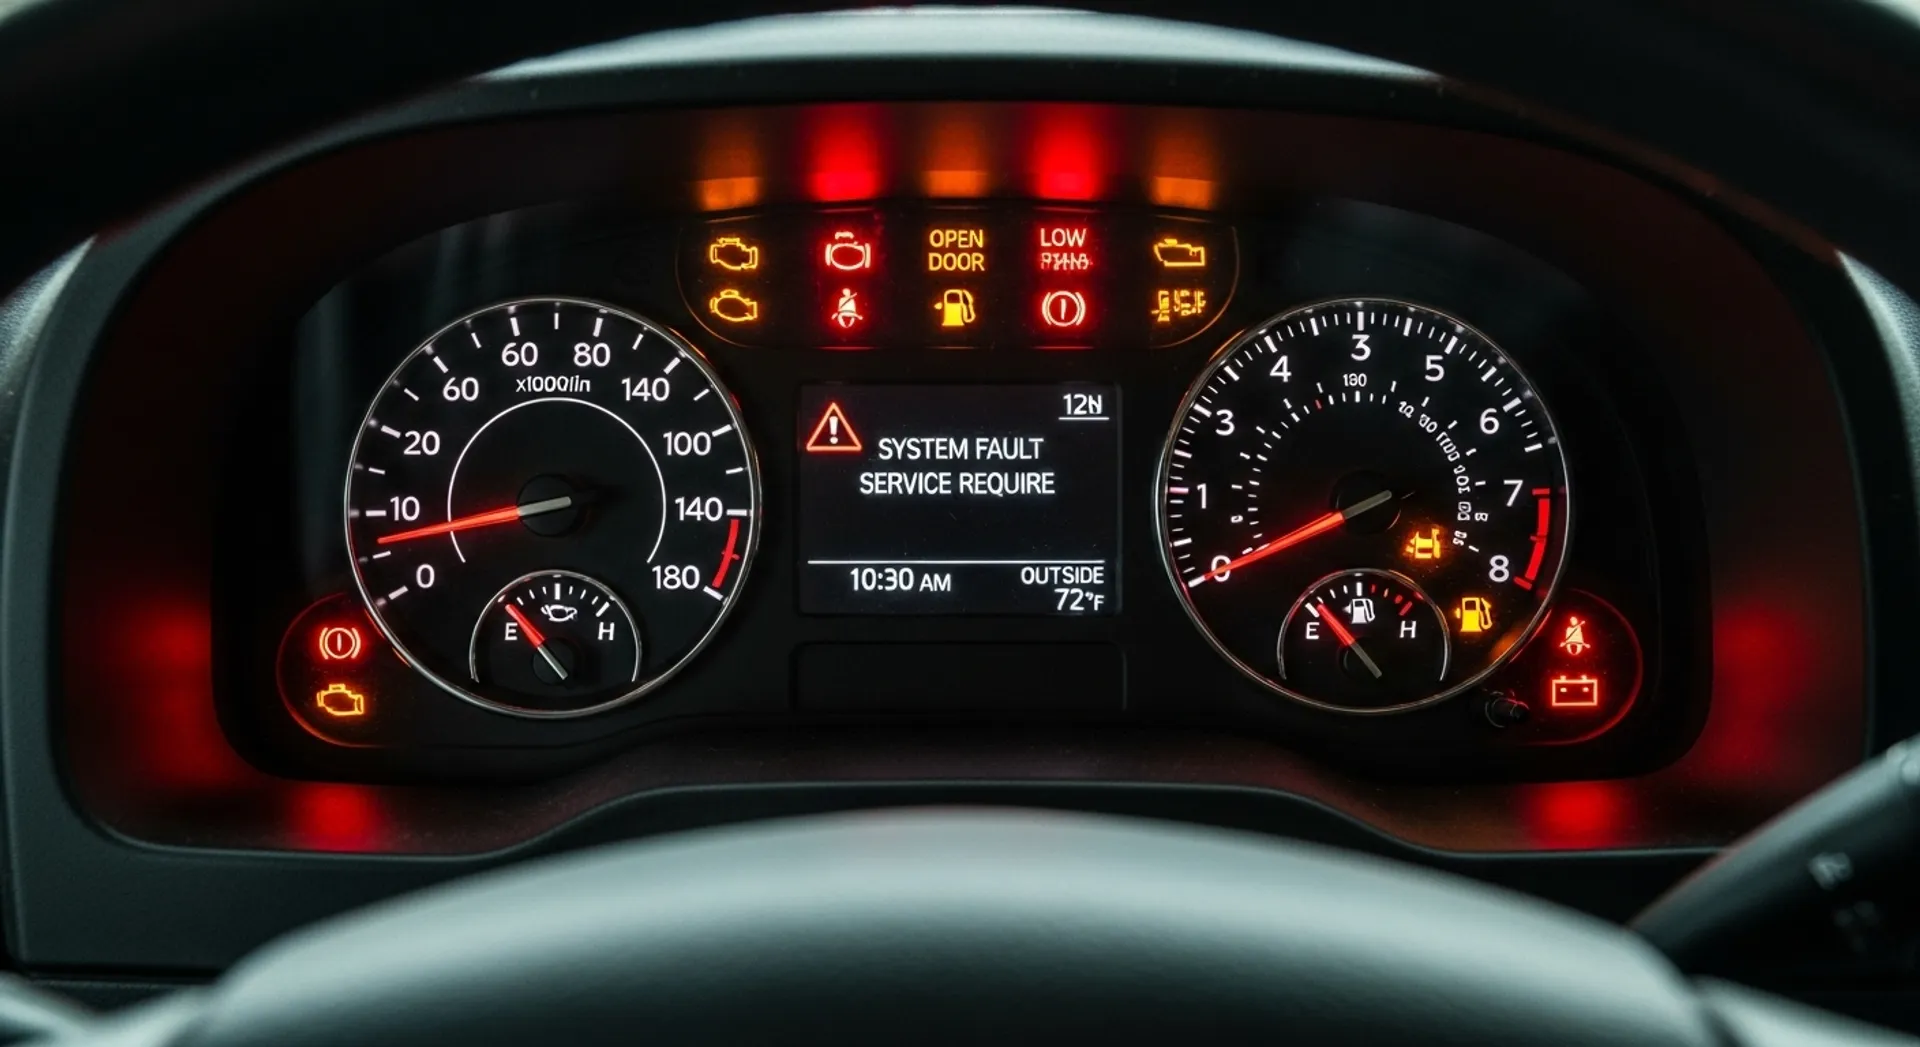
Signs Your Roof Needs Immediate Attention
Water Stains or Drips Inside
Ceiling stains, damp spots, or sagging areas often indicate roof leaks that need immediate repair.
Visible Cracks or Tears
Any tear in rubber, fiberglass, or aluminum should be addressed promptly with proper sealant or patching materials.
Loose Roof Components
Vents, AC units, or antennas that shift or leak during rain indicate the need for resealing or professional attention.
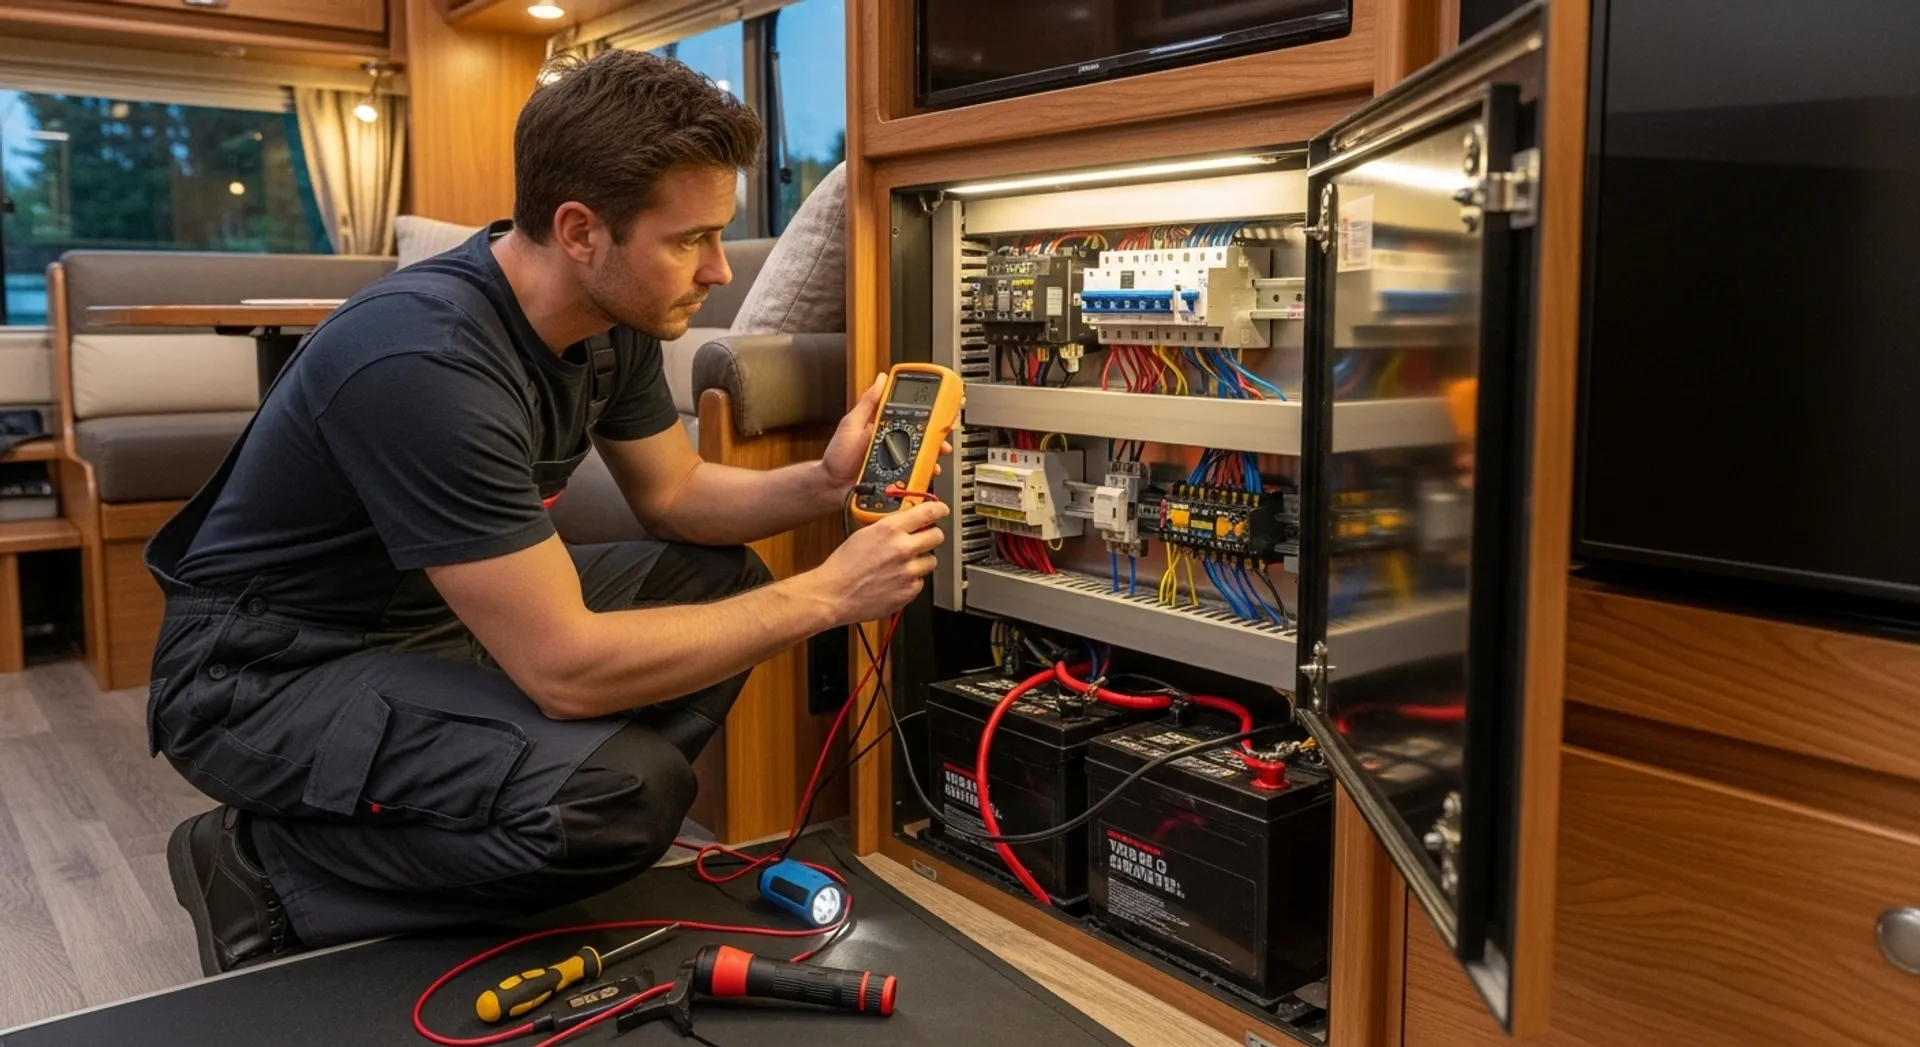
DIY Roof Maintenance vs Professional Service
Many routine inspections, cleaning, and minor sealant applications can be done by RV owners. However, extensive damage, punctures, or areas difficult to access require professional service to ensure long-term protection. For information on RV repair services and when to seek professional help, visit the RV Industry Association for certified service provider recommendations.
DIY Maintenance Tasks
- Cleaning roof surfaces and debris removal
- Inspecting sealant around vents and edges
- Applying new sealant to small cracks or worn areas
- Checking for soft spots or blisters
When to Hire a Professional
- Large cracks, punctures, or delaminated areas
- Water damage beneath the roof surface
- Extensive sealant failure across seams
- Roof replacements or material-specific repairs
Additional Tips for Long-Term Roof Health
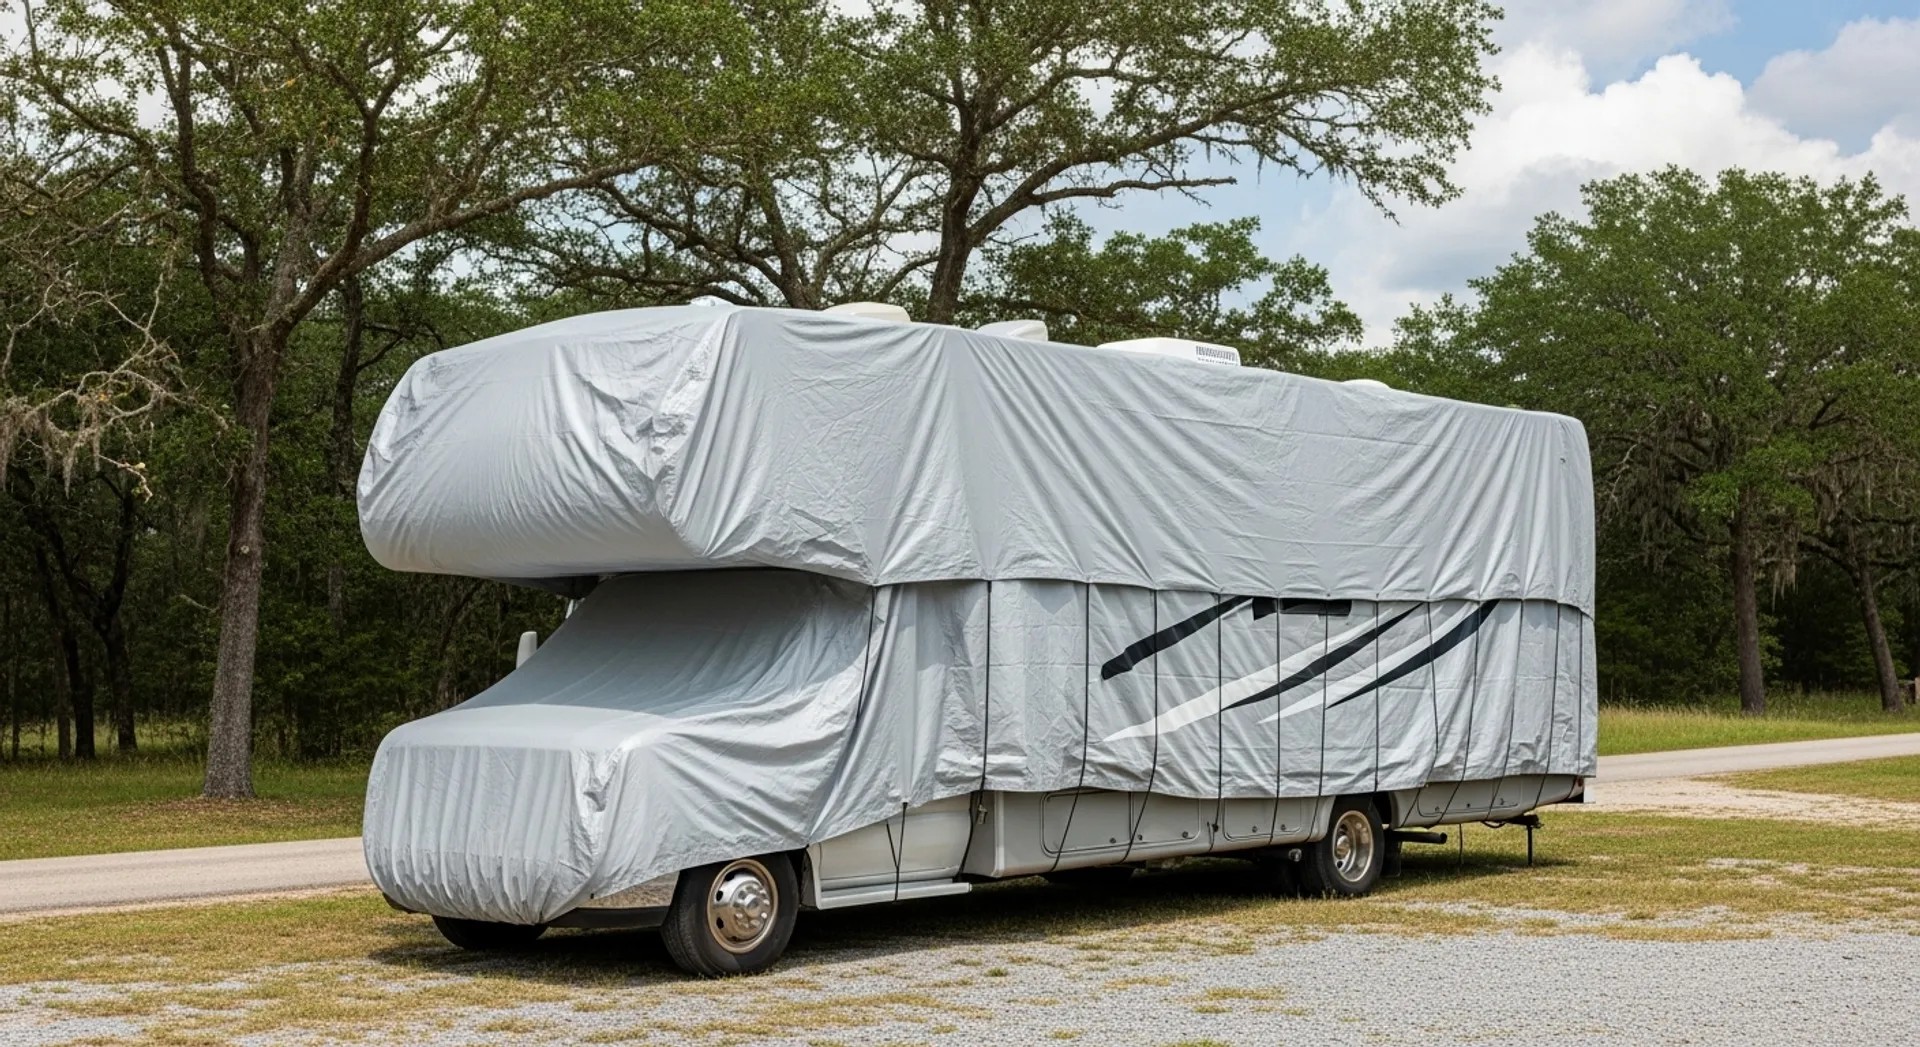
Invest in a quality roof cover if your RV is stored outdoors, avoid parking under large trees that drop branches or sap, and always check the roof after severe weather events.
For more RV maintenance tips and preventive care, explore our RV Library or return to the Heartland RV Repair homepage for full guides on campervan and motorhome upkeep.