Proper RV water system maintenance is essential for keeping your campervan or motorhome comfortable, sanitary, and reliable. Water-related issues such as leaks, odors, and pump failure are among the most common problems RV owners encounter, especially as vehicles age or sit unused for extended periods.
Understanding how your RV water system works and following routine maintenance practices can help prevent costly repairs and unpleasant surprises while traveling.
Understanding the RV Water System

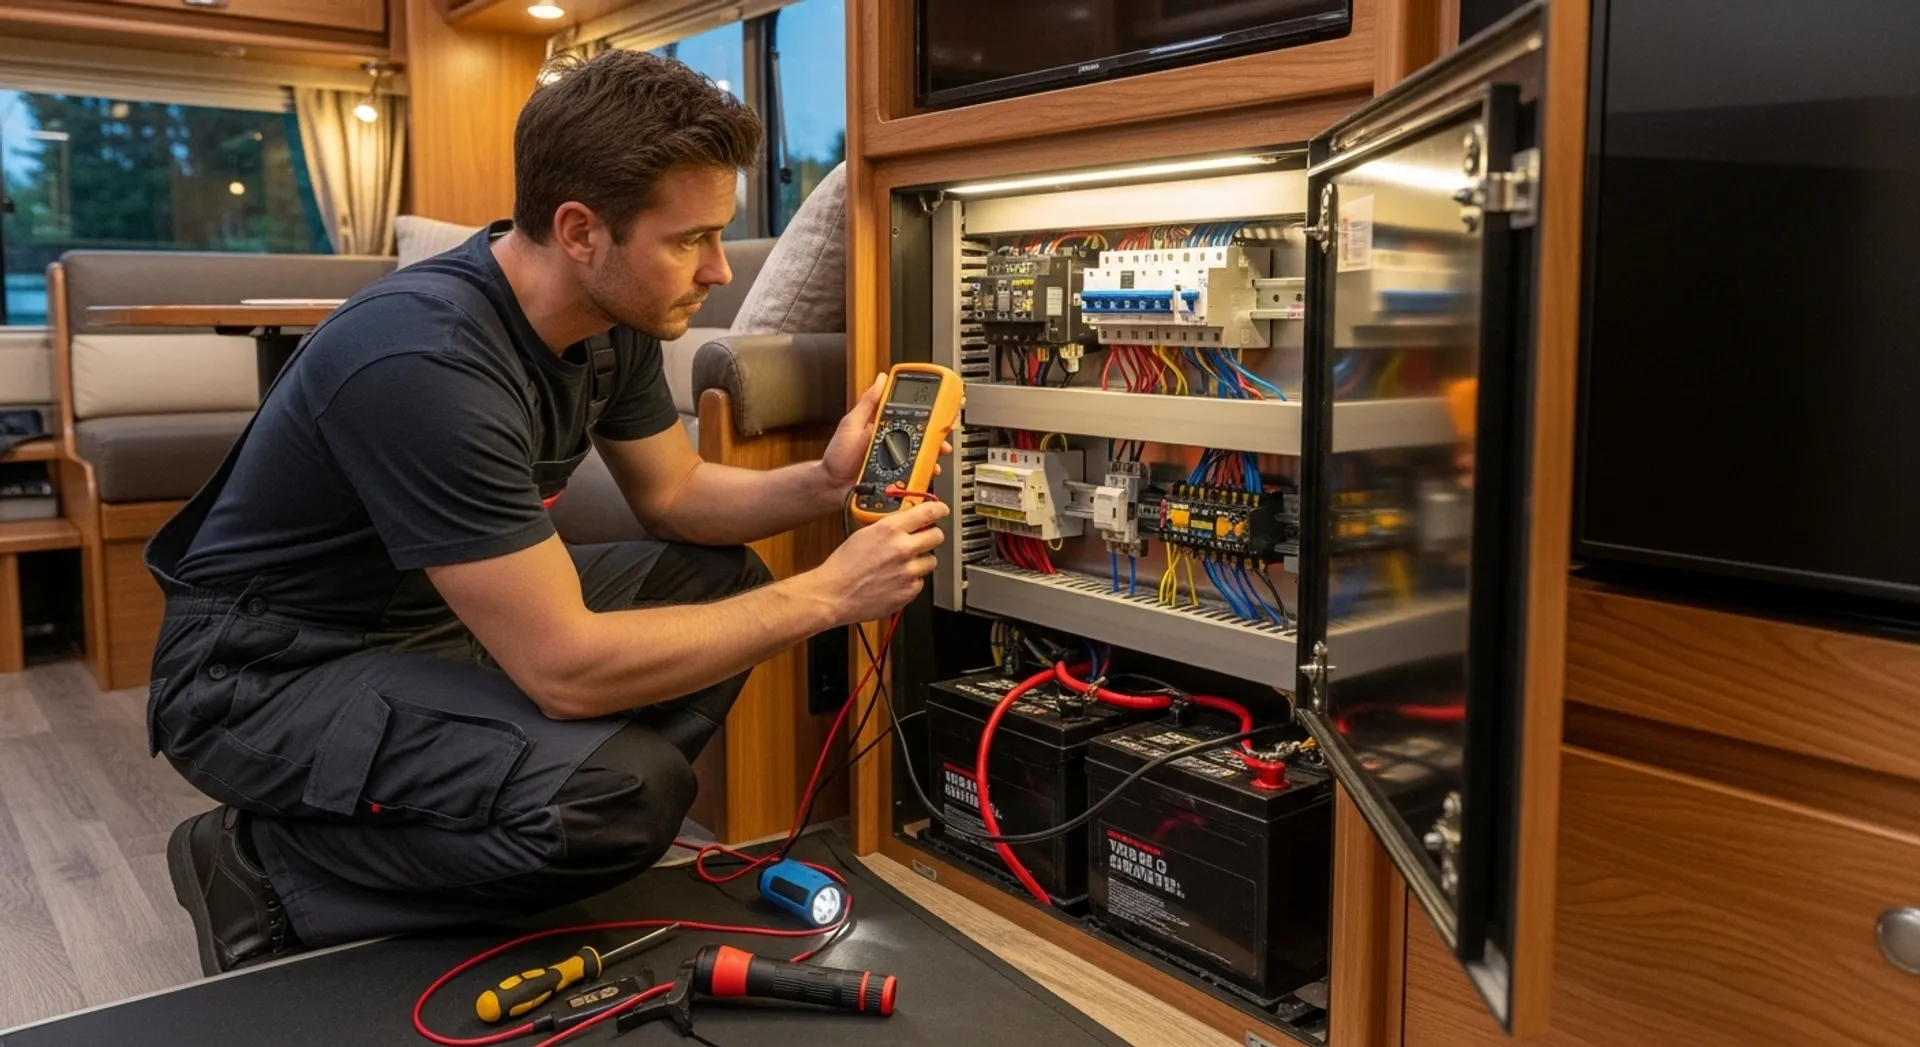
Most RVs use a self-contained water system designed to provide fresh water for daily use while safely managing wastewater. Because the water pump is tied directly into the RV’s 12-volt electrical system, electrical issues can also affect water system performance, making it important to understand how these systems connect.
Fresh Water System
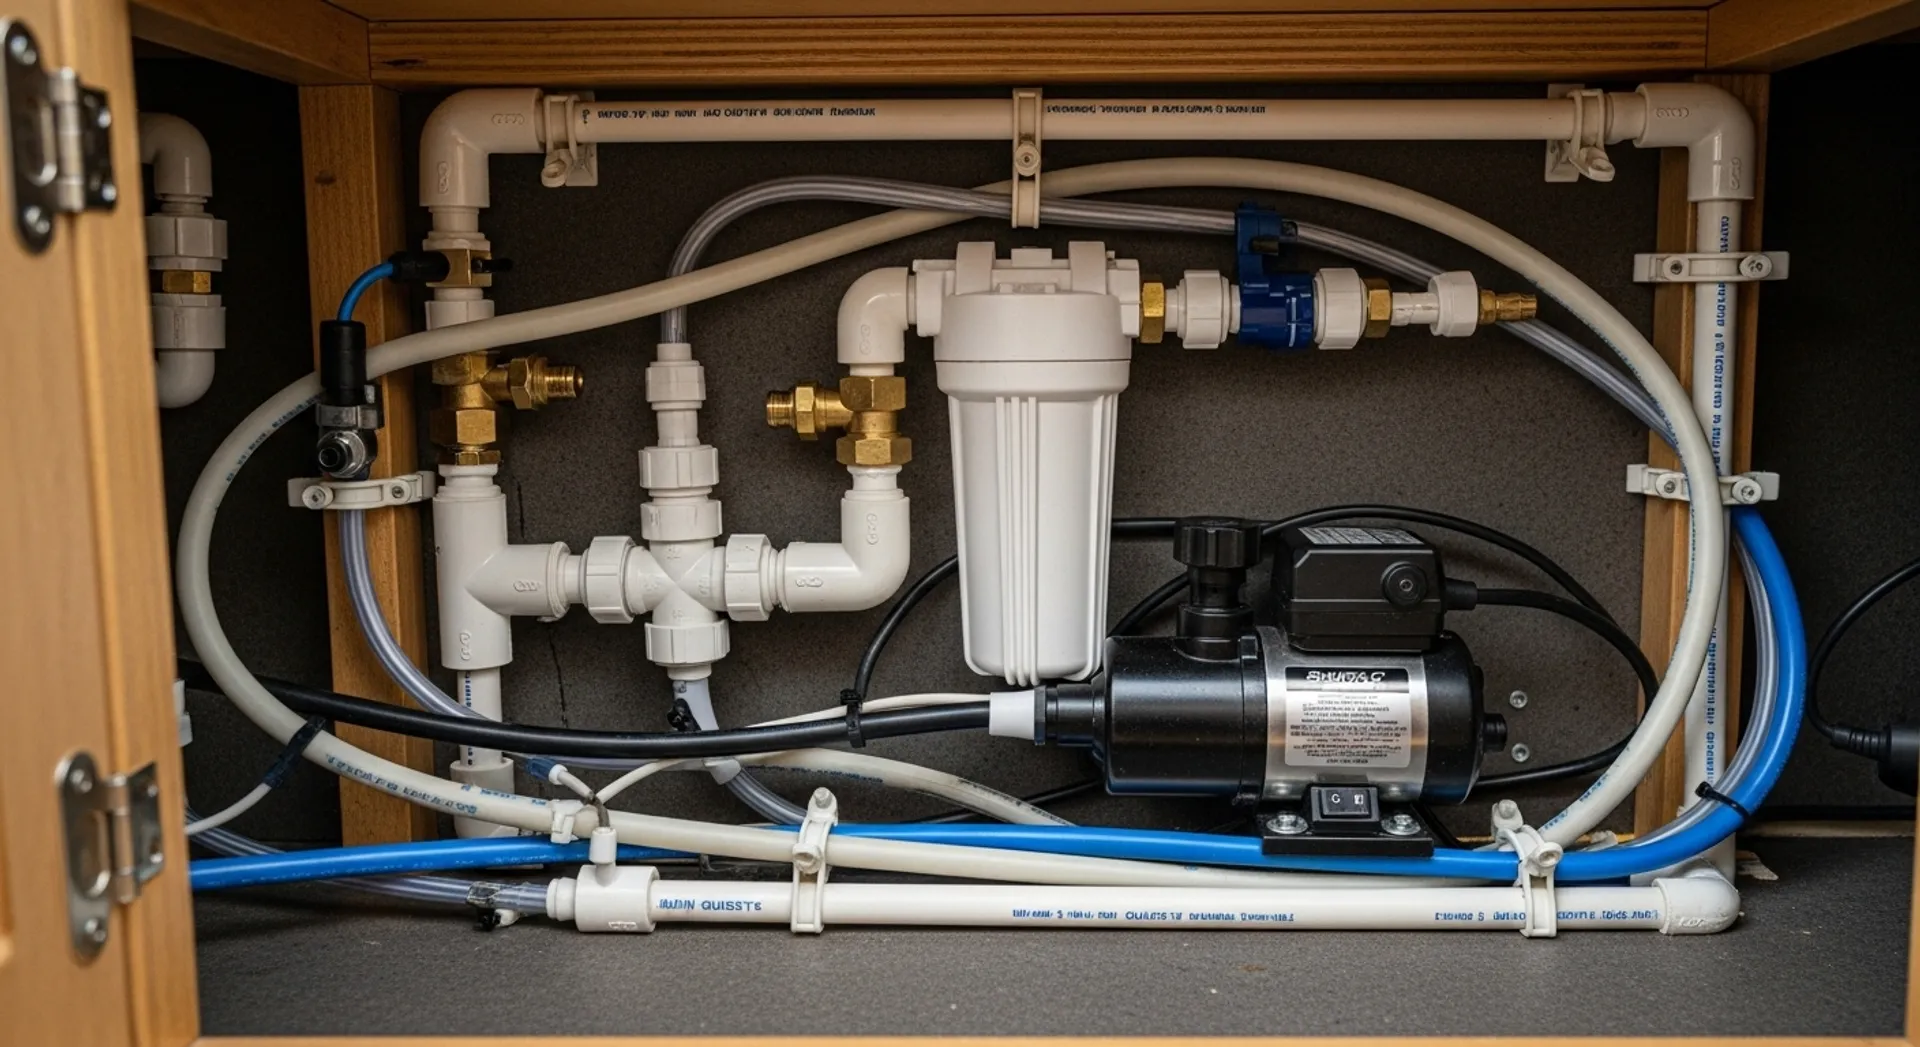
The fresh water system includes the fresh water tank, water pump, plumbing lines, and fixtures. This system supplies water to sinks, showers, and appliances when not connected to a city water source. The CDC recommends confirming that campground water is safe before connecting to any external water supply and using proper filtration when filling from unfamiliar sources.
Gray Water System
Gray water tanks collect wastewater from sinks and showers. While less hazardous than black water, gray water can still produce strong odors if not maintained.
Black Water System
The black water system stores waste from the toilet and requires careful handling, regular flushing, and proper ventilation.
Common RV Water System Problems
Water Leaks
Leaks are one of the most damaging RV water system issues. They often occur at hose connections, fittings, faucets, and water pump seals. Even small leaks can cause hidden water damage inside walls or flooring. Left unaddressed, these leaks can also lead to roof and structural damage similar to what occurs when roof maintenance is neglected.
Unpleasant Odors
Odors usually originate from gray or black water tanks, clogged vent pipes, or dried-out P-traps. Poor maintenance can allow bacteria buildup that produces strong smells.
Water Pump Failure
Water pumps may fail due to dry running, debris in the system, worn diaphragms, or electrical issues. Warning signs include loud noises, rapid cycling, or failure to build pressure.
Routine RV Water System Maintenance

Inspect Plumbing Connections
Check all visible hoses and fittings for moisture, cracks, or loose connections. Tighten fittings carefully to avoid damaging plastic components.
Clean and Sanitize the Fresh Water Tank
Sanitizing the fresh water tank helps remove bacteria and mineral buildup. Most manufacturers recommend sanitizing at least once per season. A common method involves adding a diluted bleach solution, running it through all faucets, letting it sit for several hours, and then flushing the entire system with fresh water until the smell is gone.
Maintain P-Traps and Drains
Keep P-traps filled with water to prevent odors from entering the RV interior. Drain cleaners designed for RV systems can help prevent buildup.
Monitor Water Pressure
Excessive water pressure from city water connections can damage plumbing. Using a pressure regulator helps protect the system. Most RV plumbing systems are designed to handle between 40 and 60 PSI, so always check your owner’s manual for the recommended range before connecting to a campground water supply.
Preventing Leaks Before They Start
Use Quality Hoses and Fittings
RV-rated hoses and fittings are designed to withstand vibration and pressure changes. Avoid household-grade components.
Inspect After Travel
Road vibration can loosen connections. Inspect plumbing after long trips to catch issues early.
Watch for Moisture Signs
Soft flooring, warped panels, or musty smells may indicate hidden leaks that require immediate attention.
Water Pump Care and Troubleshooting
Common Water Pump Symptoms
Noisy operation, constant cycling, or inconsistent water pressure often indicate pump issues.
Basic Pump Maintenance
Clean inlet filters regularly and ensure the pump never runs dry. Debris can quickly damage internal components.
When to Replace the Pump
Persistent pressure problems or electrical faults usually signal that replacement is more cost-effective than repair.
Odor Control and Tank Maintenance

Proper Tank Flushing
Flush gray and black tanks thoroughly to remove residue. Built-up waste contributes to odor and sensor malfunctions.
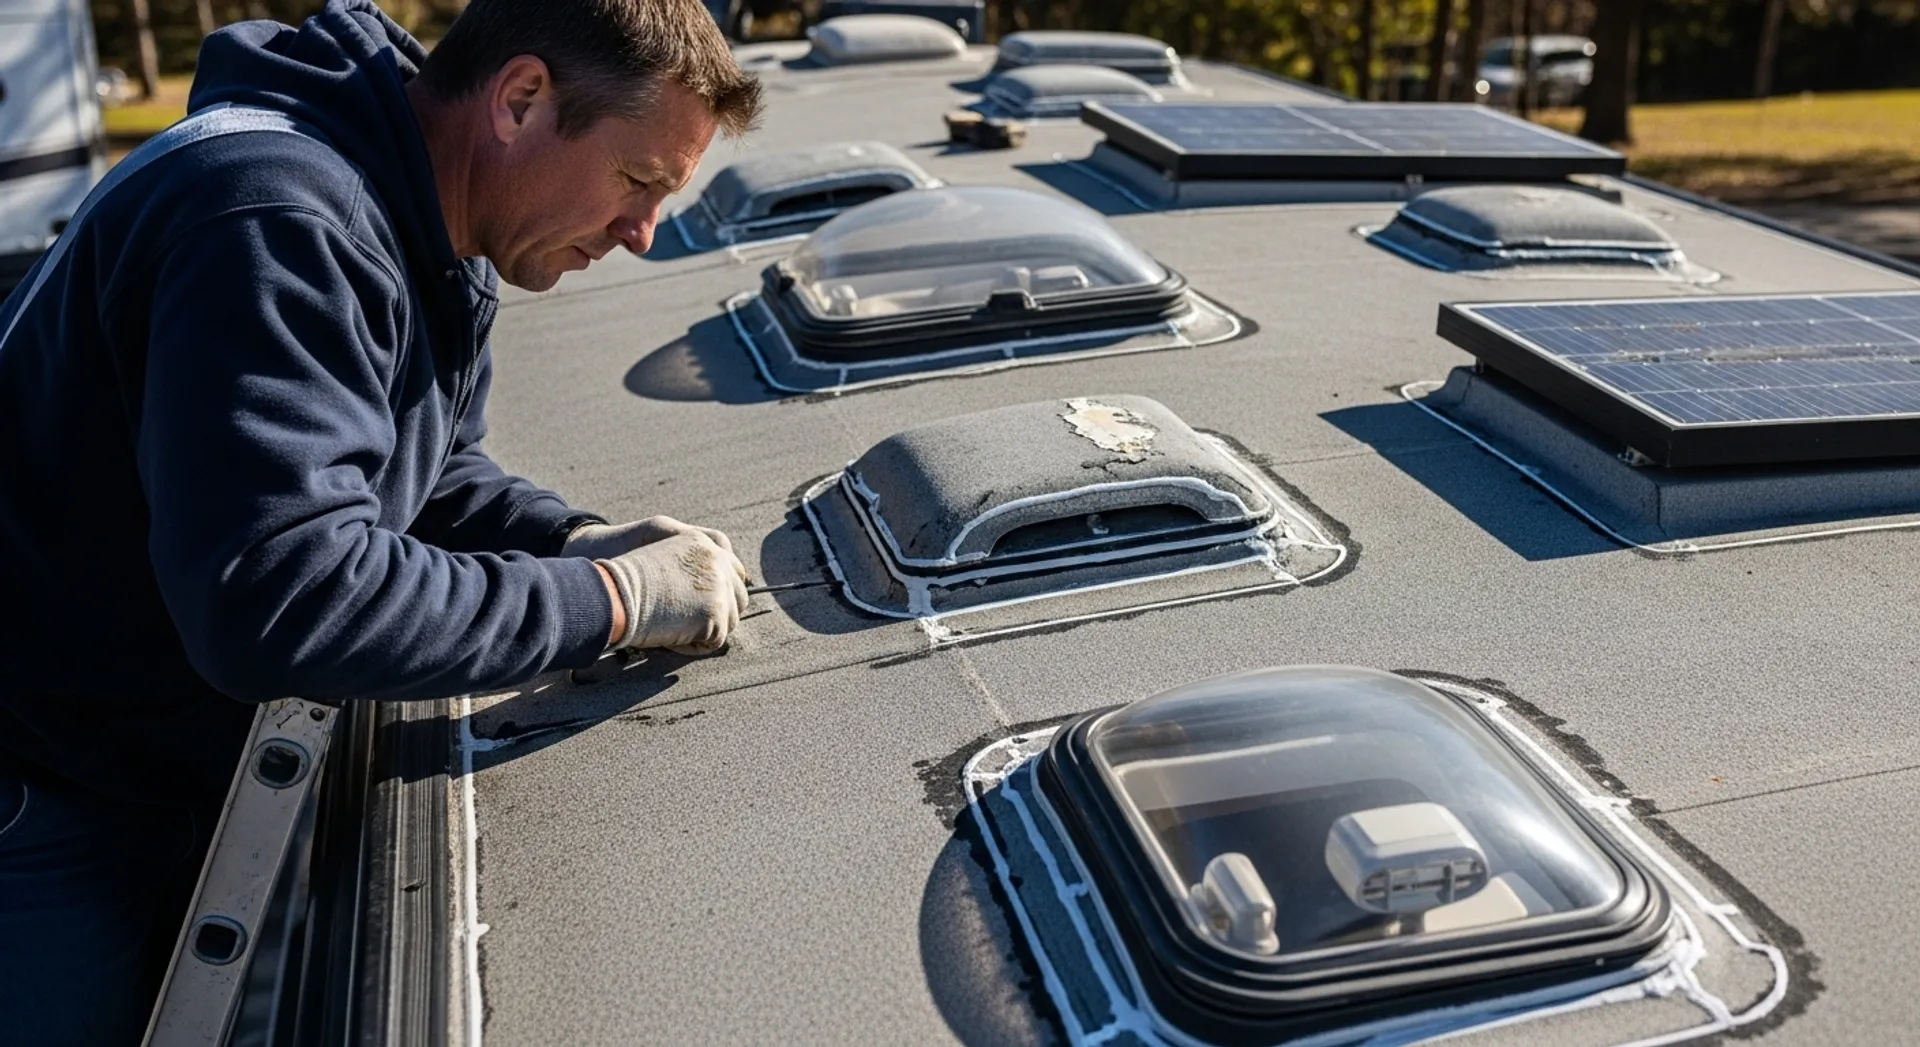
Ventilation System Checks
Ensure roof vents are clear and functioning properly to allow gases to escape.
Use RV-Safe Treatments
Only use treatments designed specifically for RV tanks to avoid damaging seals and sensors.
Seasonal Water System Care
Winterization
Freezing temperatures can cause pipes and pumps to crack. Proper winterization prevents costly freeze damage. According to the RV Industry Association (RVIA), it is important to use RV-specific antifreeze rather than automotive antifreeze when winterizing your potable water system. If you plan to store your RV for an extended period, our guide on preparing your RV for long-term storage covers additional steps to protect the entire vehicle.
Spring Start-Up Inspections
Inspect all components carefully when bringing the RV out of storage. After de-winterizing, flush the entire water system, sanitize the fresh water tank, and check every connection for leaks before your first trip of the season.
The Centers for Disease Control and Prevention recommends regular water system sanitation to reduce contamination risks. Additionally, the Go RVing winterization guide provides a helpful overview of the full winterization process for all RV types.
When Professional Service Is Needed
Complex leaks, recurring pump failures, or persistent odors may require professional diagnosis. Ignoring water system problems can lead to structural damage and health concerns.
For more maintenance guides and system overviews, browse our RV Library or return to the Heartland RV Repair homepage for additional RV ownership insights.