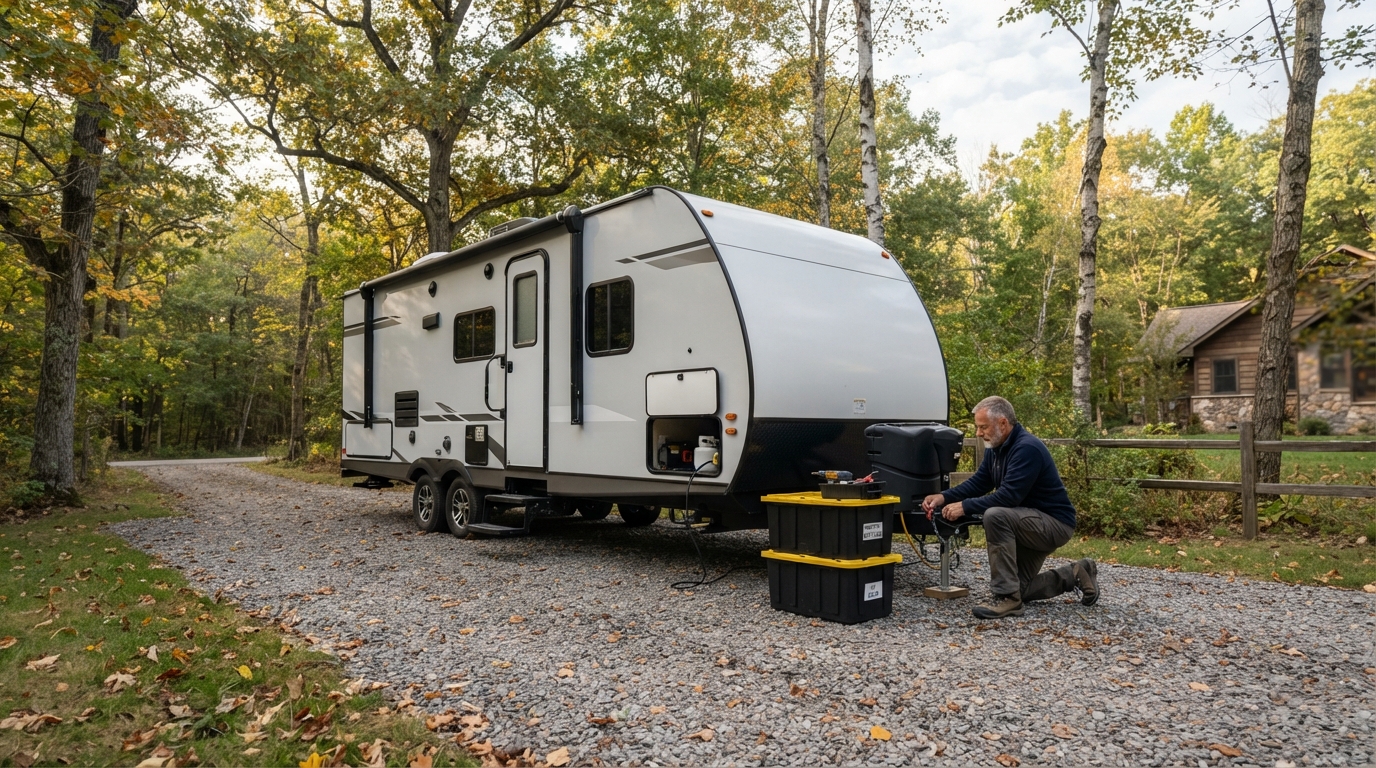
Cold weather can turn a small amount of trapped water into a costly RV repair. A cracked fitting, split supply line, damaged water pump, or frozen exterior shower can interrupt next season before it starts. This RV winterization checklist walks through the essential steps for putting your rig away before sustained freezing temperatures arrive. It is designed for owners who store a travel trailer, fifth wheel, campervan, or motorhome in a cold-weather area.
Use this guide alongside your owner’s manual because plumbing layouts, appliances, and battery systems vary. Refer uncertain propane, electrical, tankless-water-heater, or plumbing work to a qualified RV technician.
Choose the Right Time to Winterize
Start before regular overnight freezing temperatures arrive. Check the forecast, choose a dry day, and allow enough time to work carefully. In cold climates, remove water from the plumbing and protect the lines with compressed air or RV antifreeze. A current manufacturer winterization procedure also emphasizes emptying tanks, draining water lines, bypassing the water heater, and protecting fixtures before storage.
Gather Supplies and Review Your RV Layout
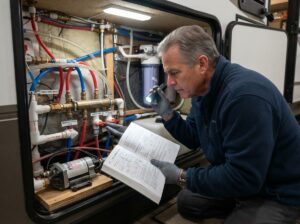
Before opening valves, identify the fresh-tank drain, low-point drains, water heater, pump, bypass valve, outside shower, city-water inlet, and water filter. Photograph the original valve positions for spring.
Most antifreeze methods need RV-approved non-toxic antifreeze, a pump converter or siphon hose, towels, and a container for draining water. Never use automotive antifreeze in potable-water plumbing. Wear gloves and eye protection around the water heater and batteries.
Decide Between Antifreeze and Compressed Air
Both methods can work. Antifreeze is more forgiving because it remains in low spots and traps; compressed air requires correct regulator pressure and careful attention to every fixture. Follow the manufacturer’s procedure, especially for a tankless heater, residential refrigerator, washer hookup, or specialty filter.
Empty Tanks and Drain the Water System
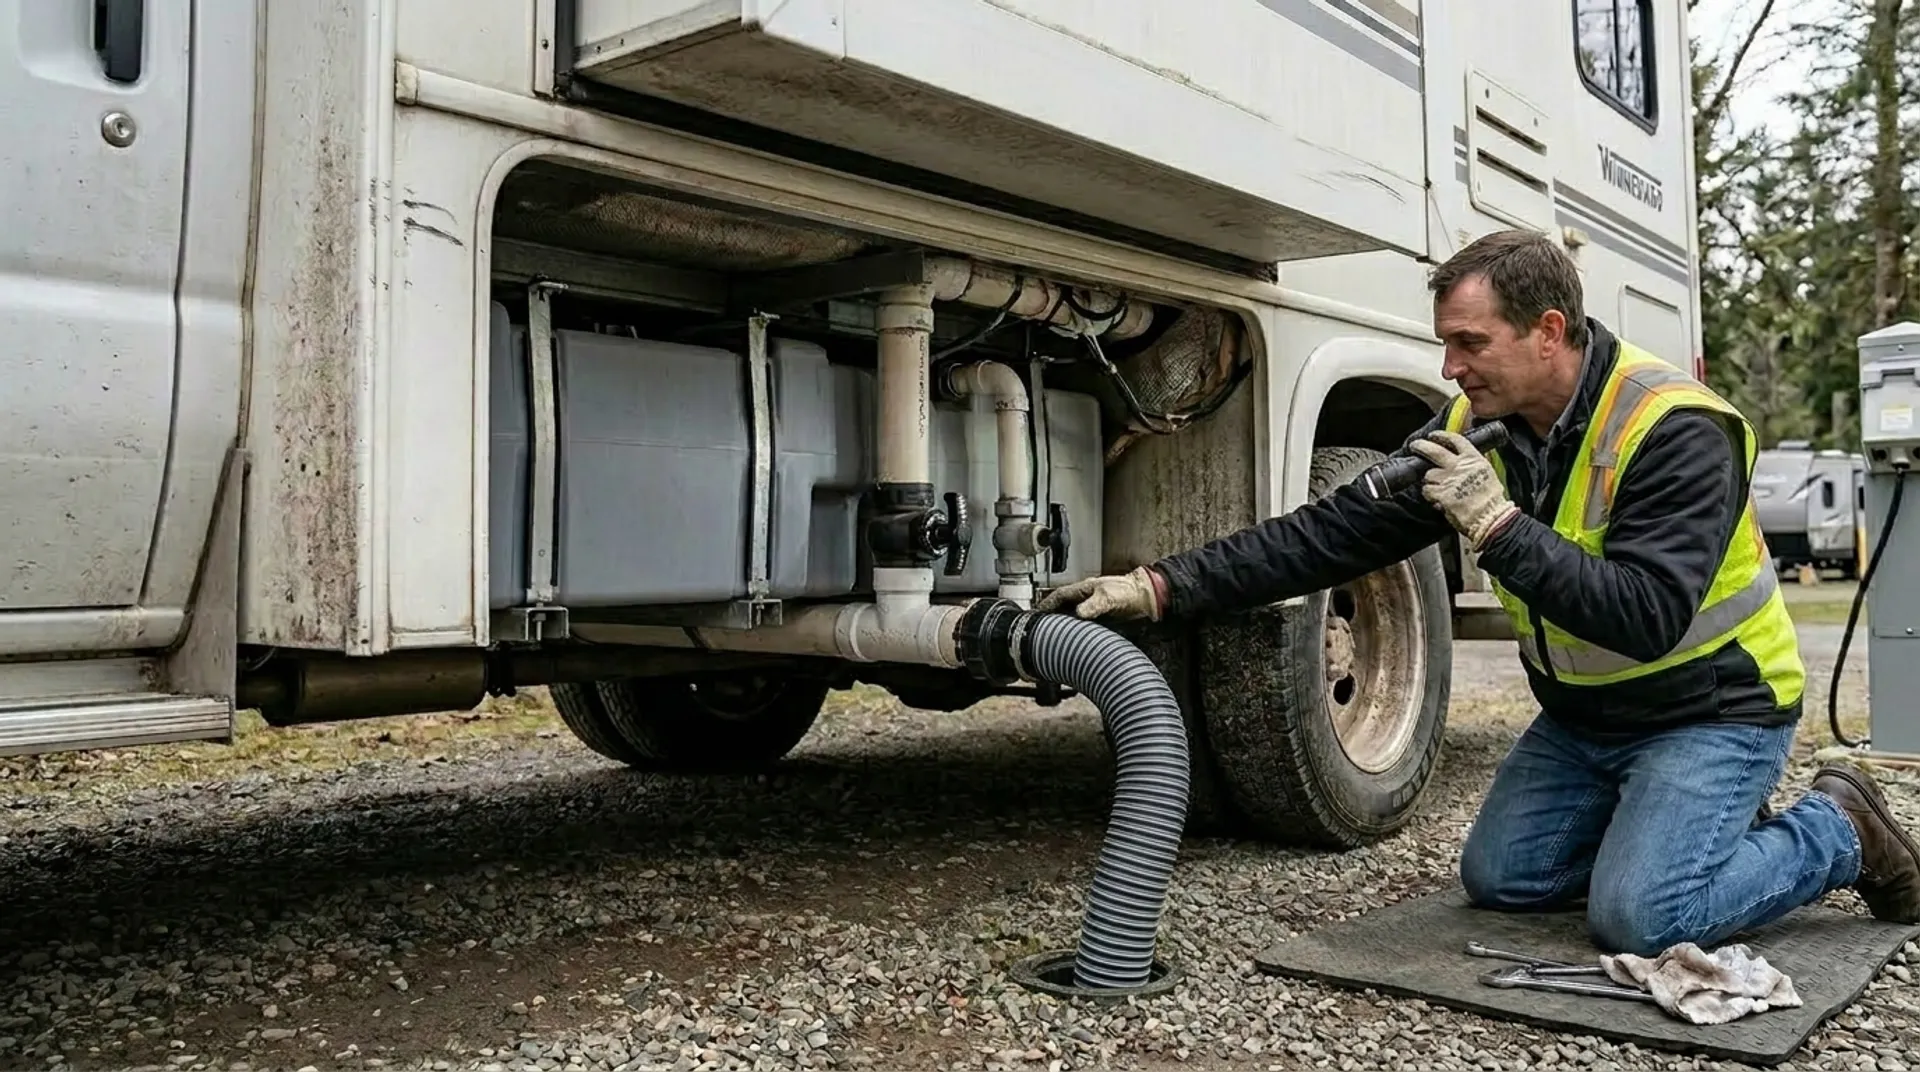
Begin at an approved dump station. Empty and rinse the black and gray tanks, then close the valves when the job is complete. A clean holding-tank system reduces odors and gives you a better starting point in spring. Review the site’s black and grey tank maintenance guide if you have persistent odors, sensor issues, or slow drainage before storage.
Next, turn off the water pump and drain the fresh-water tank. Open the low-point drains and every hot- and cold-water faucet, including the outside shower. Open the toilet valve briefly so trapped water can leave that line as well. Let the system drain fully. Once water stops flowing, close the faucets and reinstall drain caps as required by your RV’s procedure. Do not leave the system half-open if insects or rodents could enter through an exposed fitting.
Remove or Bypass Water Filters
Remove replaceable water-filter cartridges before winter. A wet cartridge can freeze, degrade, and become a source of contamination later. Drain the filter housing, then install the manufacturer-supplied bypass or an empty housing if your model requires it. This is also a good time to inspect the pump, visible fittings, and hoses for dampness or cracks. For a broader review of pump care and water-system problems, link readers to the site’s RV water system maintenance guide.
Bypass the Water Heater and Protect Plumbing
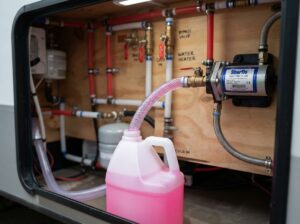
Turn off the water heater before draining it. Confirm that electric and propane heating modes are off, allow the tank to cool, and relieve pressure only as directed by the owner’s manual. Drain the tank completely. Then set the water-heater bypass valves to the bypass position. Bypassing prevents you from wasting several gallons of antifreeze filling a water-heater tank that should remain empty. If your RV has a tankless water heater, use its model-specific winterization procedure instead.
Connect the water-pump siphon or converter kit to a jug of non-toxic RV antifreeze. Turn on the pump and begin with the fixture closest to it. Open the cold side until pink antifreeze appears, then repeat with the hot side. Continue one fixture at a time through kitchen and bathroom faucets, showers, exterior showers, and the toilet. Do not forget a bar sink, spray hose, washer hookup, or other optional plumbing connection.
Push antifreeze carefully through the city-water inlet only if your manufacturer’s instructions call for it. Then pour antifreeze into each drain so the P-traps are protected. Leave a small amount in the toilet bowl to help protect the seal. When every fixture has been checked, turn off the pump and label the system as winterized. A written checklist is useful if more than one person maintains the RV.
Protect Batteries, Appliances, and the Interior
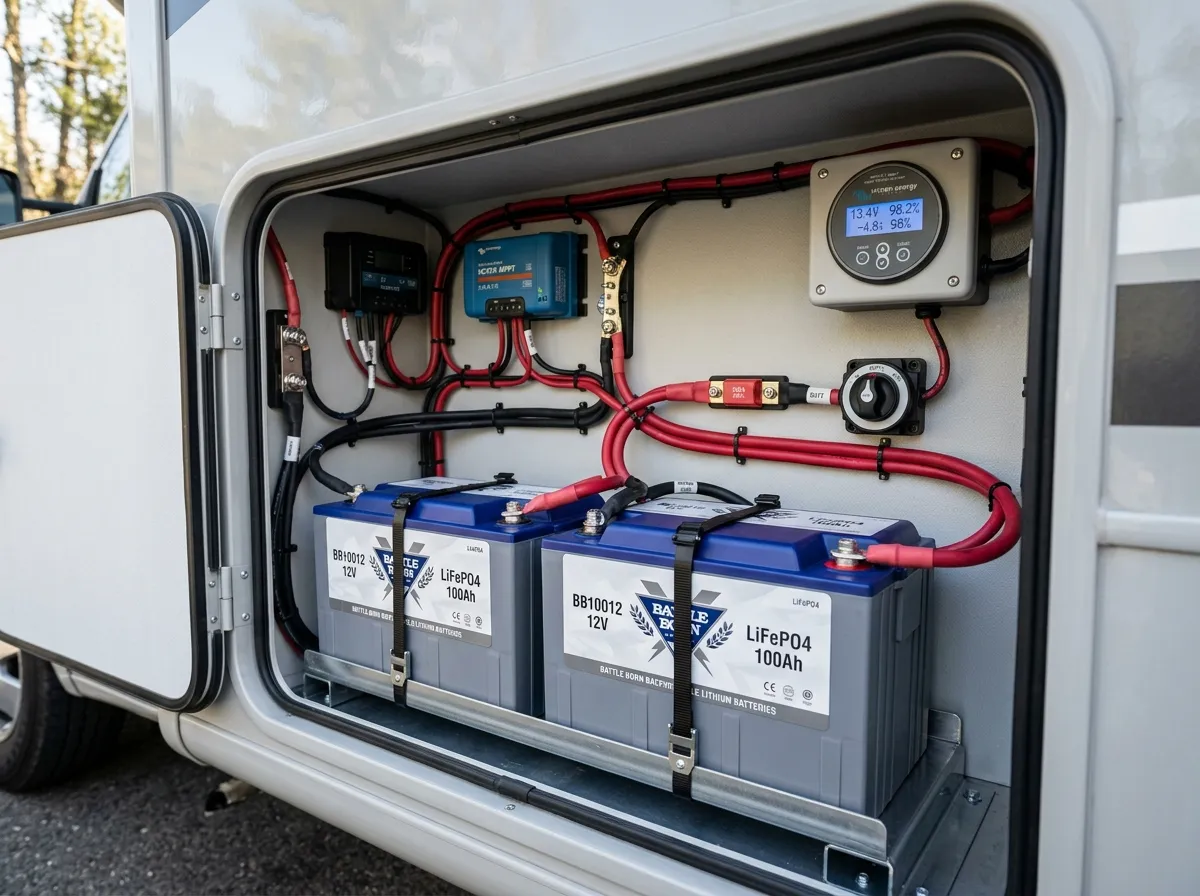
Winterization is more than plumbing. Clean battery-terminal corrosion, confirm cable connections, and follow the battery manufacturer’s storage instructions. Lithium batteries can have different cold-charging limits than lead-acid batteries. The site’s RV lithium battery conversion guide explains why chemistry and charging equipment matter.
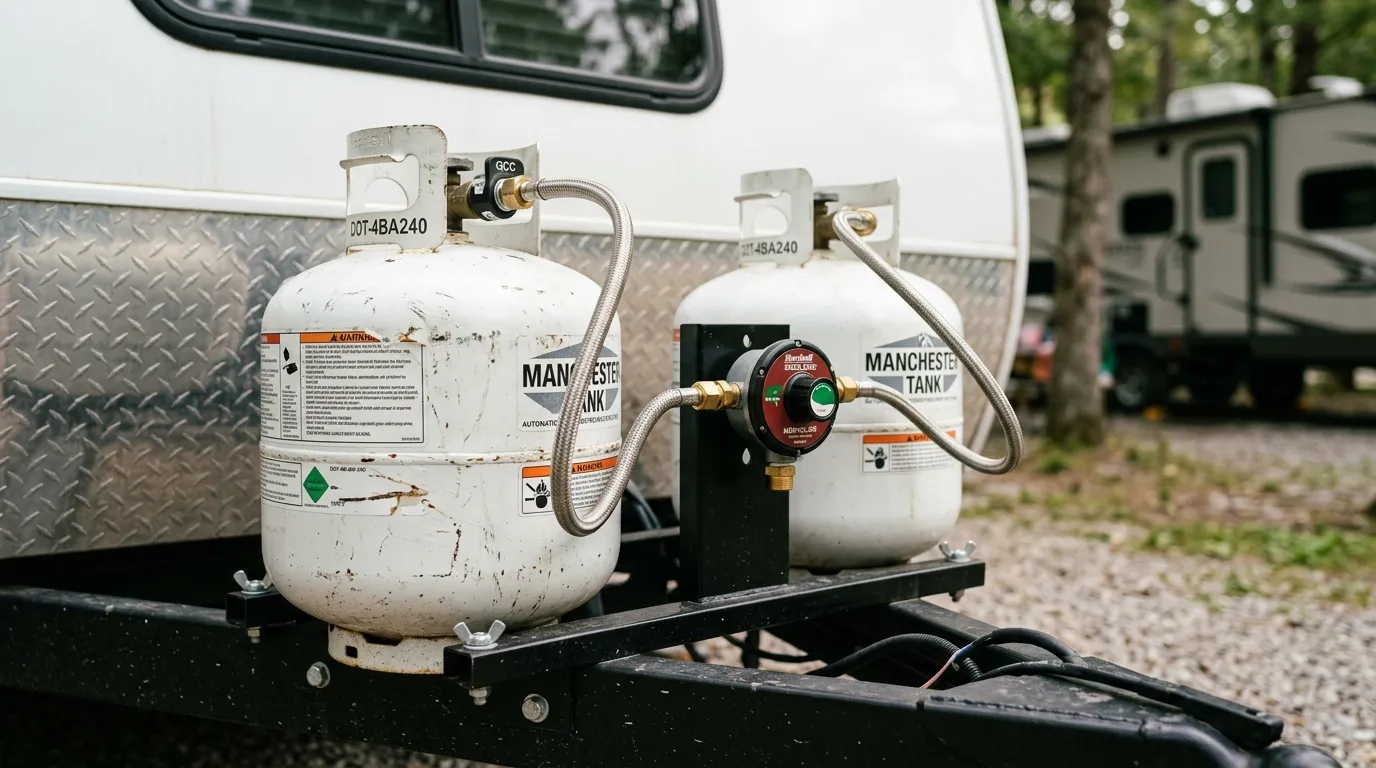
Empty the refrigerator, freezer, cupboards, and trash. Clean and dry the refrigerator, then secure its doors open as directed to limit moisture and odors. Turn off propane as directed, switch off nonessential appliances, and inspect detectors.
Control Moisture and Pests
Remove food, paper products, and scented items. Clean crumbs from drawers and under cushions. Use moisture-control products as directed, and check the RV periodically for dampness, pests, or a roof leak.
Inspect the Exterior Before Storage
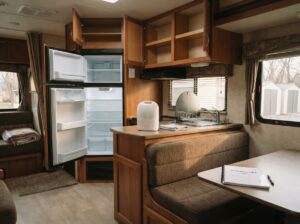
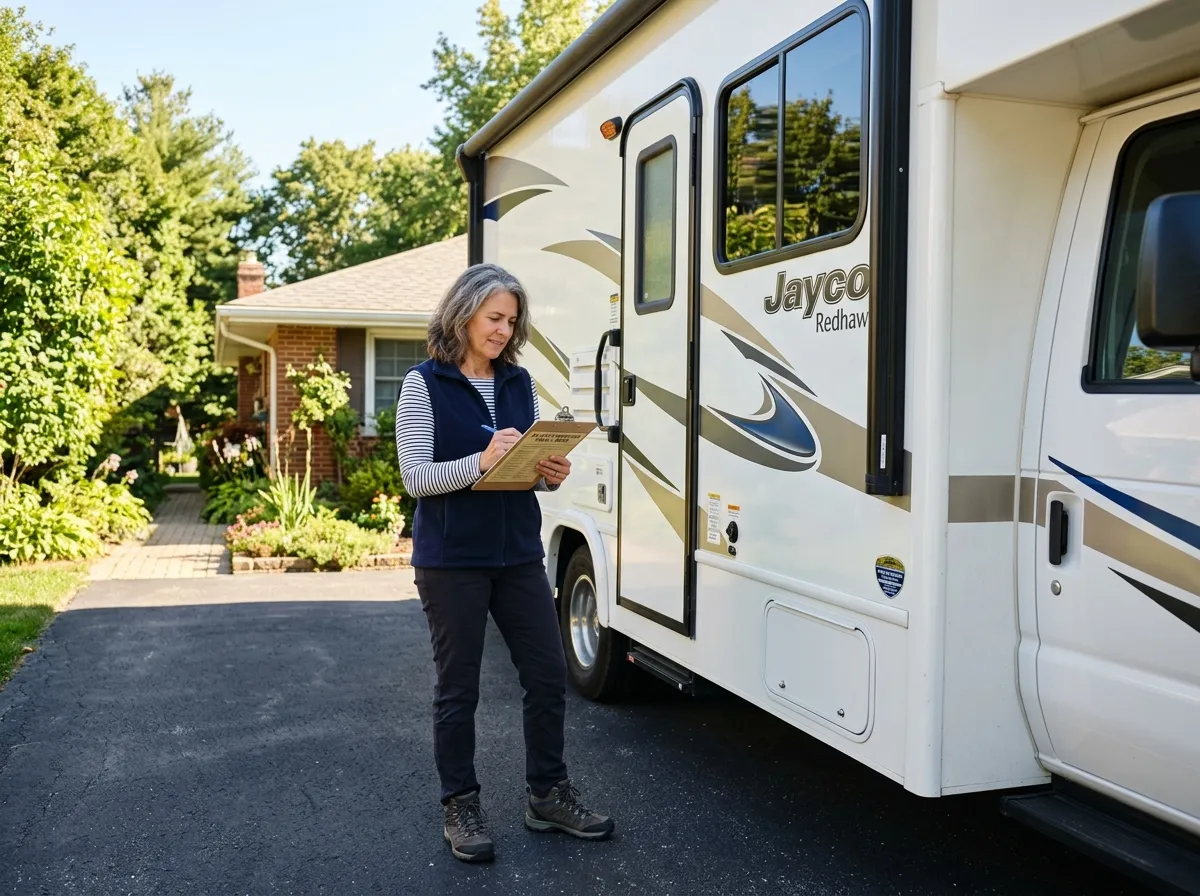
Walk around the RV before covering or parking it for the season. Inspect the roof, vent covers, sealant, windows, storage doors, slide seals, awning, and exterior lights. Look for openings that could admit water or pests. Resolve damaged sealant before winter moisture makes the problem worse, and use the site’s RV roof maintenance guide for a closer inspection routine.
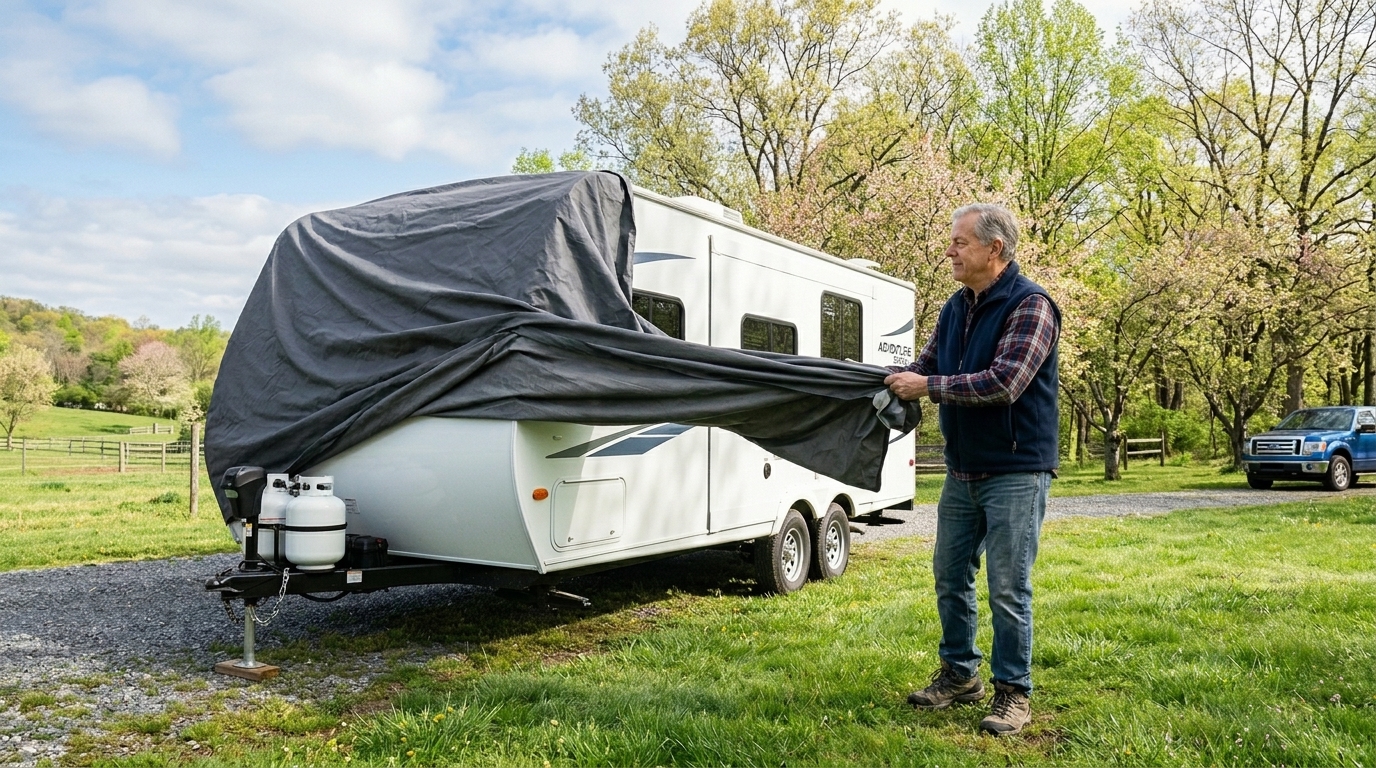
Check tire pressure against the RV manufacturer’s label, inspect tire sidewalls, and secure the RV on level ground. If you use a cover, choose one designed for your RV and install it so it does not trap moisture or rub against sharp edges. Complete one final walk-around to confirm windows, vents, compartments, and entry doors are closed and latched.
Keep a Record for a Smooth Spring Startup
Before leaving the RV, note the date, antifreeze method, battery status, bypass position, and repairs to complete in spring. Keep the record with your keys or maintenance file.
When camping season returns, follow the site’s RV spring de-winterization checklist to flush antifreeze, sanitize the fresh-water system, inspect for winter damage, and test every system before your first trip.