The first warm weekend of the year hits and every RV owner has the same thought: it’s time to wake the rig up. But pulling your RV out of storage and just hooking up the hose is one of the fastest ways to ruin a trip. Antifreeze in the water lines, dormant bacteria in the tank, a battery that drained over winter, and seals that stiffened in the cold all need attention before you turn the key.
This RV spring de-winterization checklist walks you through every system that needs to be reversed, restored, or sanitized after months of storage. Most owners can complete it in a single afternoon, and getting it right means your first trip of the season is about camping — not chasing problems.
When to Start De-Winterizing Your RV
Timing matters more than most owners realize. Start too early and a late freeze can crack a freshly filled water line. Start too late and you’re scrambling the week before your first trip.
Watch the Overnight Lows
The safest window to de-winterize is once nighttime temperatures stay consistently above freezing for at least two weeks. If a cold snap is still possible in your area, either delay the water-system steps or be prepared to drain the lines again. Everything else — battery service, tire inspection, seal checks — can be done earlier with no risk.
Give Yourself a Buffer Before Your First Trip
Plan your de-winterization at least one to two weeks before your first planned outing. This gives you time to discover and fix any winter damage, order parts if needed, and complete the tank sanitization process without rushing.
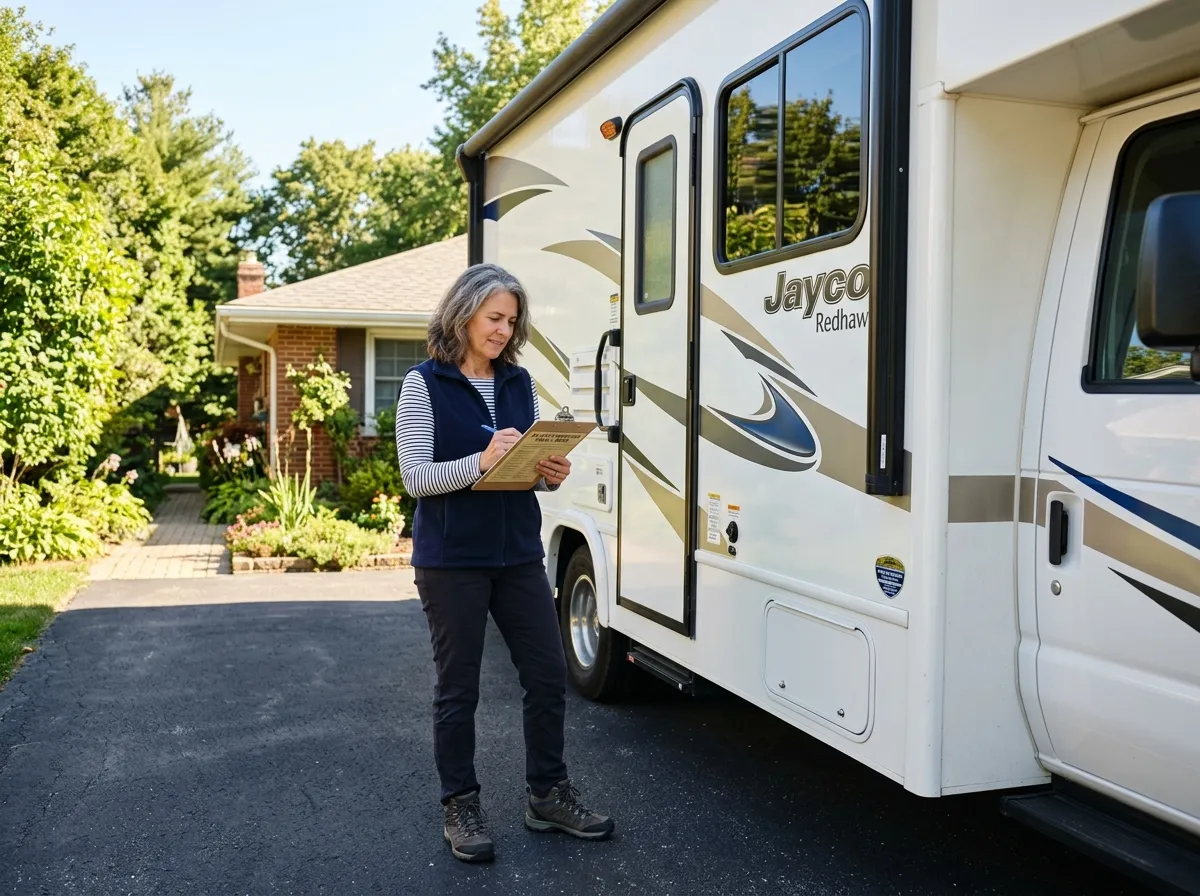
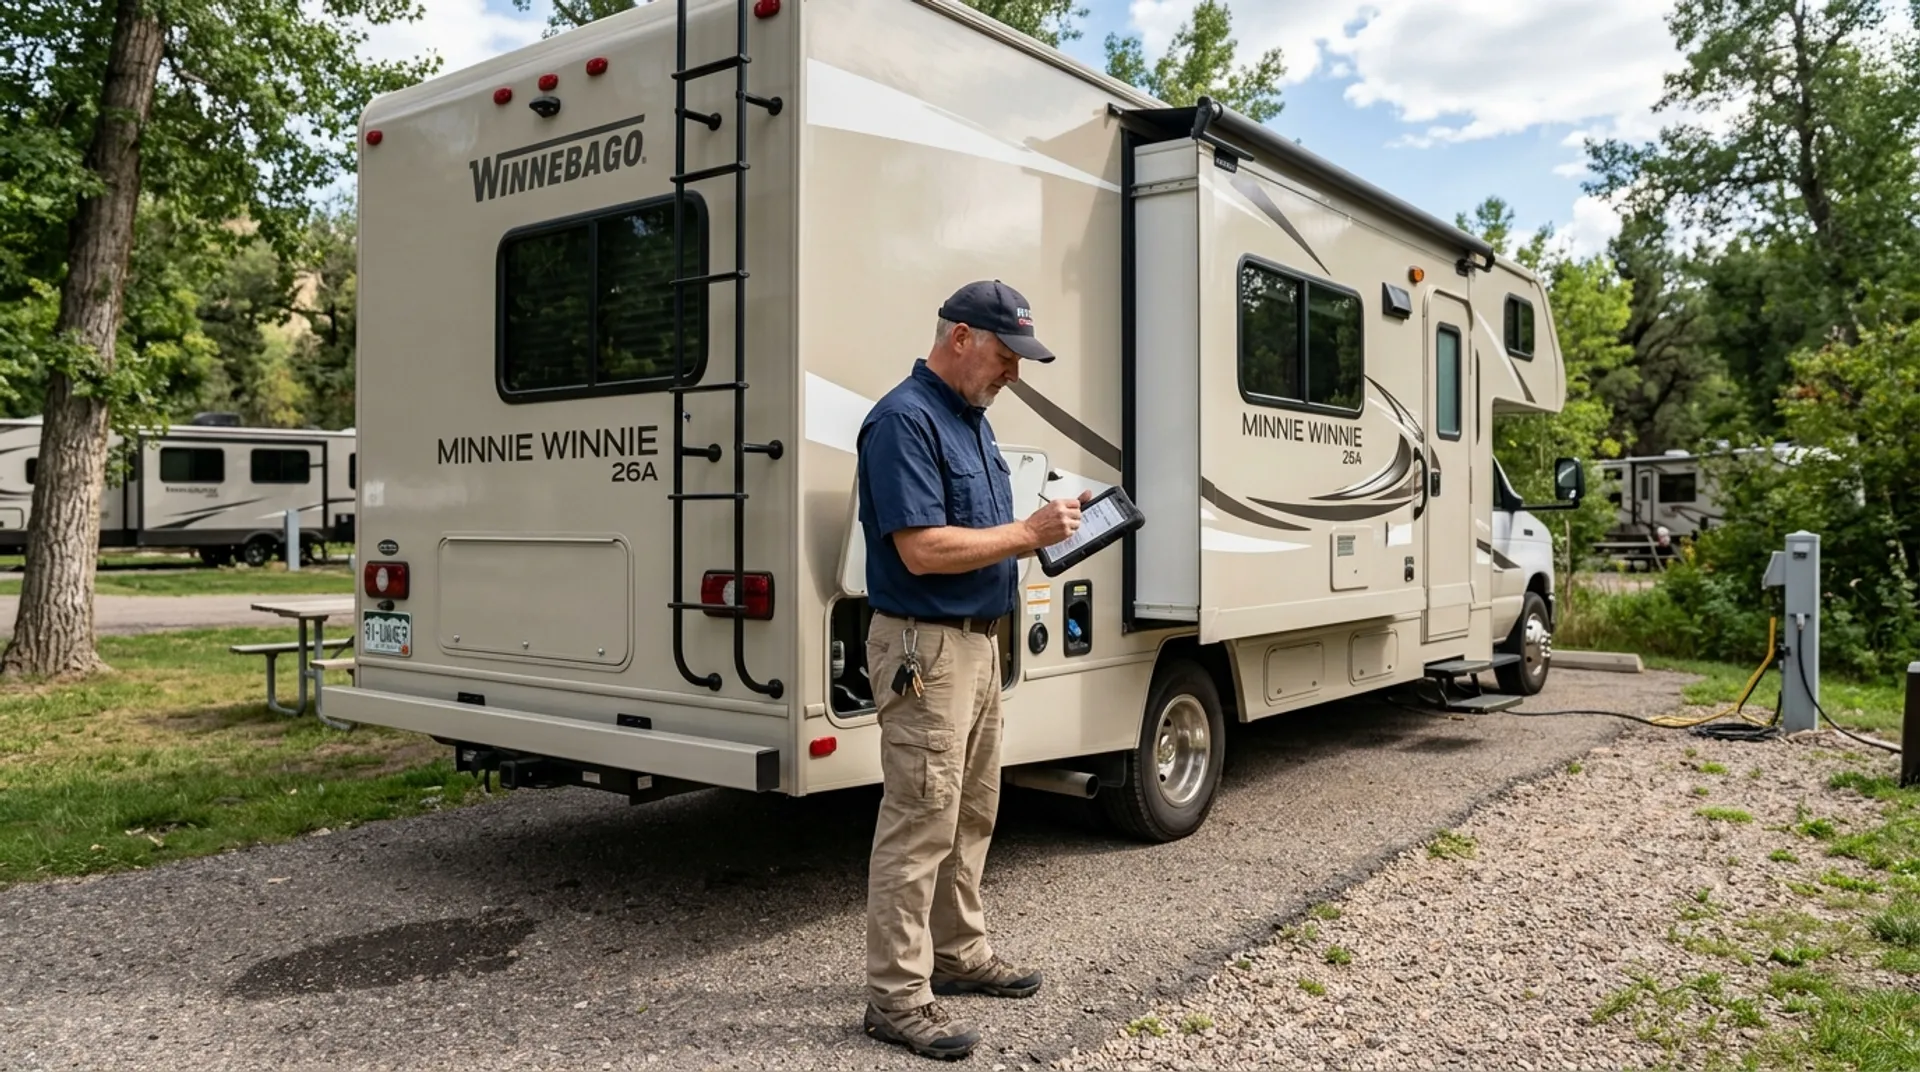
Step 1: Exterior Walk-Around and Damage Check
Before you touch the water system, walk the entire rig and inspect for anything that changed during storage. Winter is hard on RVs even in mild climates.
Roof, Seams, and Seals
Climb up and inspect the roof for cracked sealant, lifted seams around vents and skylights, and any signs of pooling or staining. Snow load, ice, and UV cycling all degrade roof sealants. If you find cracked Dicor or peeling lap sealant, address it before water gets a chance to intrude.
Slide-Out Seals and Body Panels
Inspect slide-out seals for compression damage, cracks, or sections where mice may have nested over winter. Look closely at body panels, decals, and window frames for hairline cracks that weren’t there last fall.
Rodent and Pest Damage
Check the propane compartment, battery bay, and basement storage for chewed wires, droppings, or nesting material. Rodents love RVs in winter, and they cause more electrical and propane damage than owners realize until it’s too late.
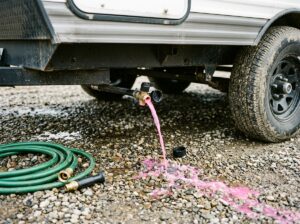
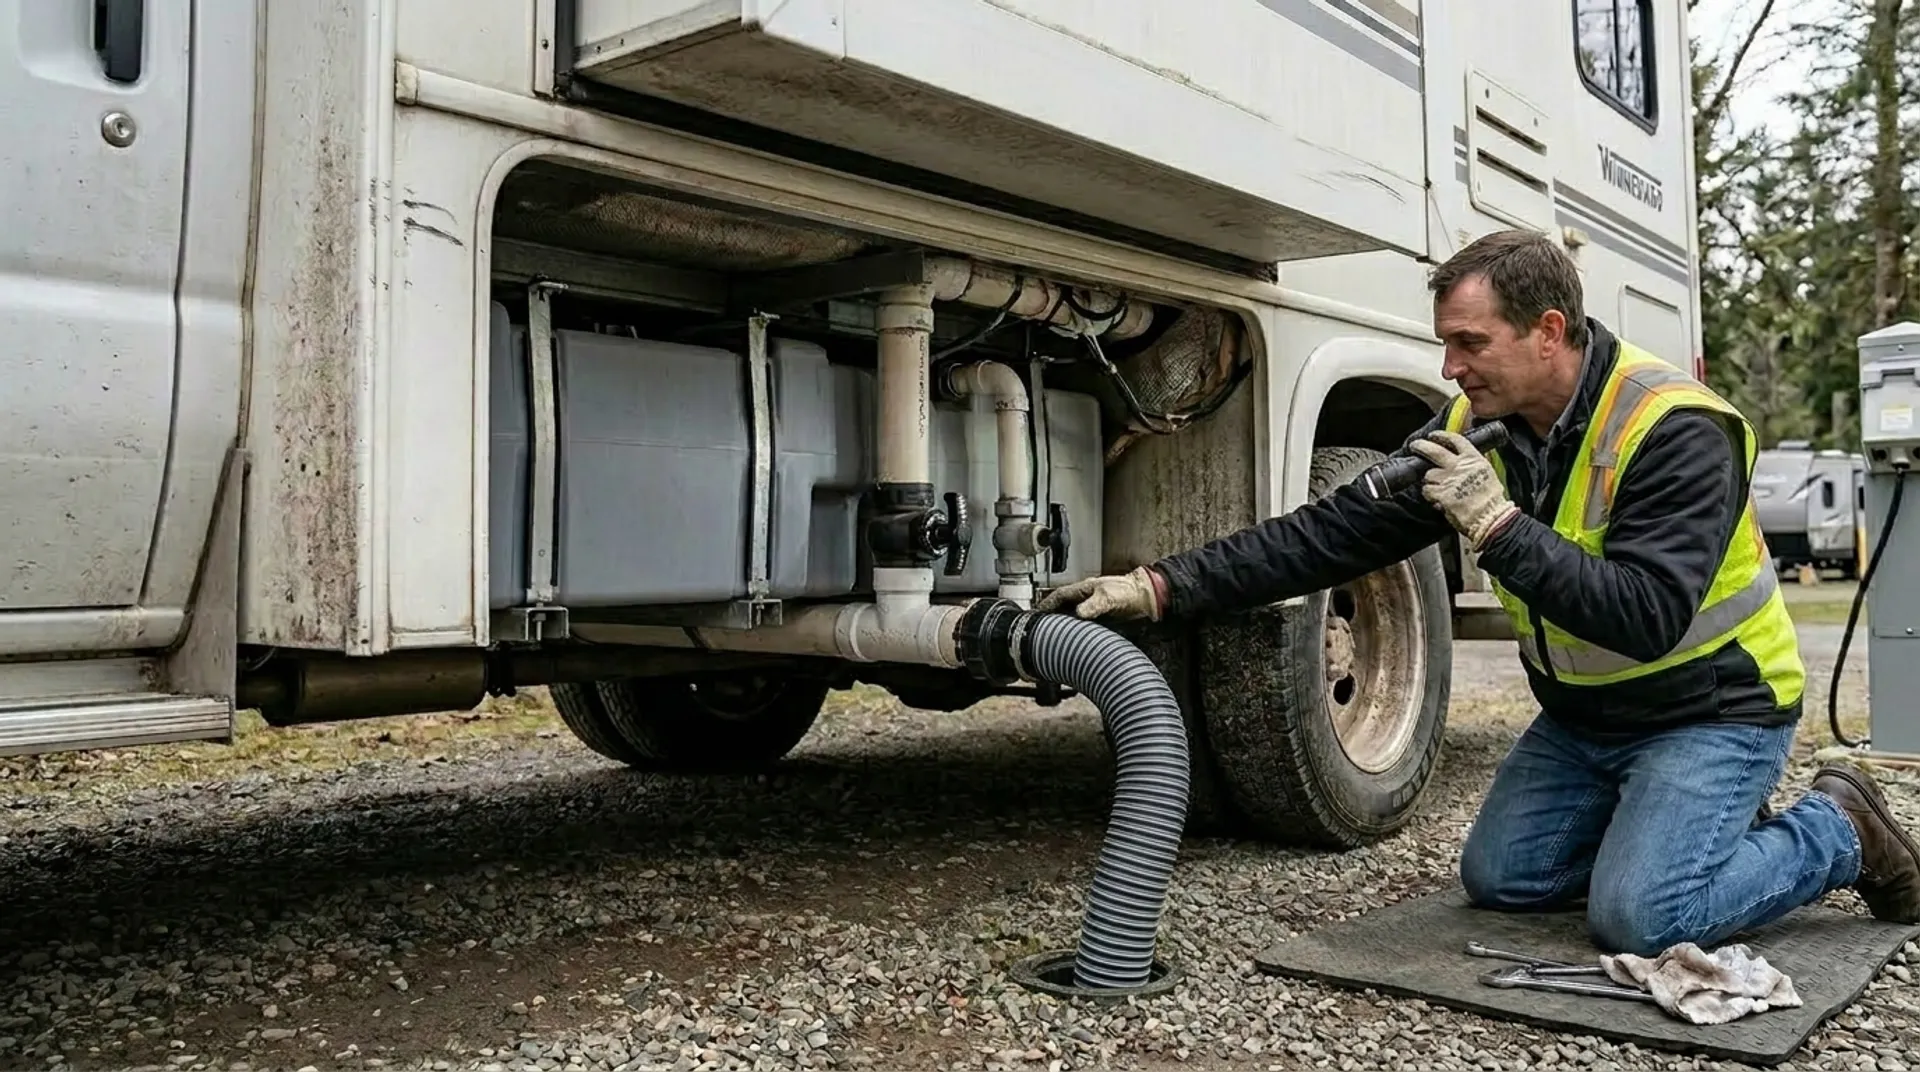
Step 2: Flush All RV Antifreeze From the Water System
This is the heart of de-winterization. The pink RV antifreeze you pumped through the lines last fall has to come out completely before any potable water touches the system.
Drain the Antifreeze From Holding Tanks
Open all low-point drains and let the freshwater tank empty completely. If you bypassed the water heater during winterization, leave the bypass engaged for now — you don’t want fresh water flowing into a still-bypassed heater later.
Reset the Water Heater Bypass
Once the lines are drained, switch the water heater bypass valves back to the normal operating position. Most setups have two or three valves located behind or near the water heater. Confirm the heater drain plug or anode rod is reinstalled and tight before you start filling.
Flush the Lines With Fresh Water
Connect a potable water hose to the city water inlet and run fresh water through the system. Open every faucet — hot and cold, indoor and outdoor shower, toilet, kitchen sprayer — one at a time until the water runs clear with no pink tint and no foaming. This typically takes 5 to 10 minutes per fixture. Don’t forget the ice maker line if you have one, and the washing machine prep if your rig is equipped with it.
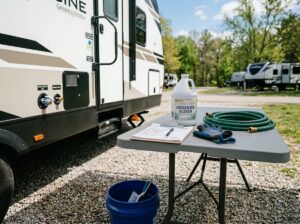
Step 3: Sanitize the Freshwater Tank
Even with all the antifreeze flushed out, the tank and lines have been sitting dormant for months. Bacteria, biofilm, and stagnant water residue make sanitizing the system the most important step you’ll perform all season. The CDC publishes general guidance on chlorination disinfection that informs the standard RV approach below.
Calculate the Right Bleach Ratio
The standard ratio is one-quarter cup of plain, unscented household bleach for every 15 gallons of freshwater tank capacity. For a 40-gallon tank, that’s roughly two-thirds of a cup. For a 100-gallon tank, you’ll need about one and two-thirds cups. Never use scented or splash-less bleach — the additives are not safe for potable water systems.
Mix and Add the Solution
Always dilute the bleach in a bucket with at least a gallon of water before adding it to the tank. Never pour straight concentrate into the system — it can damage the water pump and seals. Pour the diluted mixture through the gravity fill port or use your winterization siphon kit.
Circulate and Let It Sit
Once the bleach is in, fill the freshwater tank the rest of the way with potable water. Turn on the water pump and open every faucet until you smell bleach at each one, then shut them off. Let the solution sit in the system for at least 8 hours, or overnight for best results.
Flush Until the Bleach Smell Is Gone
Drain the tank completely, refill with clean water, and run all faucets again. You’ll likely need to repeat this fill-and-flush cycle two or three times before the bleach odor is completely gone. The water should smell and taste neutral before you consider the system ready.
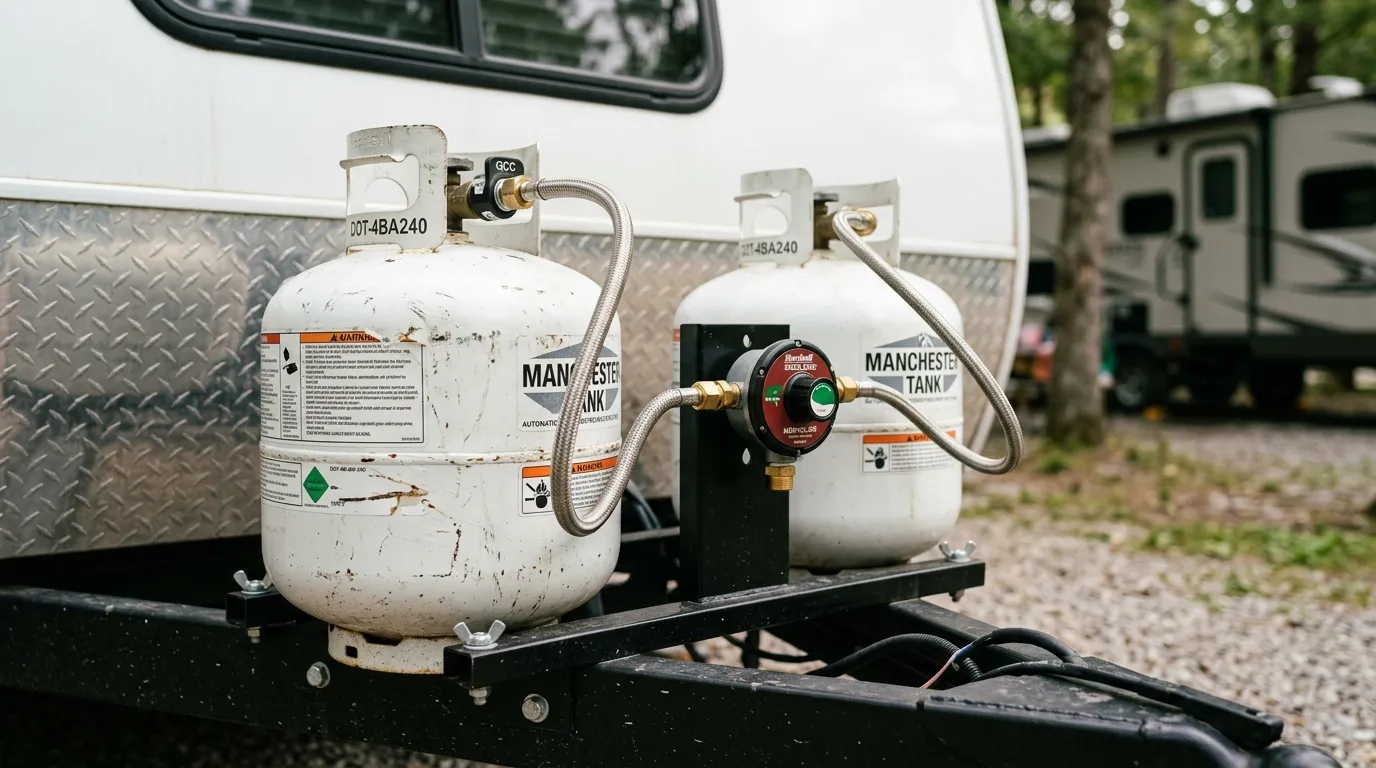
Step 4: Restore the Propane System
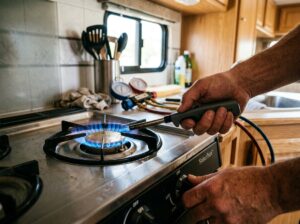
Propane gets shut down for storage and needs careful re-pressurization. This is also a good time to catch any winter damage to lines or regulators.
Visual Inspection First
Before opening the tank valve, inspect the pigtail hoses, regulator, and visible lines for cracks, rodent damage, or corrosion. If anything looks compromised, replace it before pressurizing. For a complete safety walkthrough, see our guide on RV propane system safety.
Open the Tank and Test for Leaks
Open the propane tank valve slowly and listen for hissing. Once pressurized, spray a soapy water solution on every accessible connection. Bubbles indicate a leak — shut the tank off immediately and repair before continuing.
Light Each Appliance
Light the stove, water heater, furnace, and refrigerator on propane mode one at a time. Each appliance may take a few attempts as air is purged from the lines. Watch for steady blue flames — yellow or sputtering flames mean an issue worth investigating before further use.
Step 5: Batteries, Tires, and Final Systems Check
With water and propane handled, the remaining systems take less than an hour to verify.
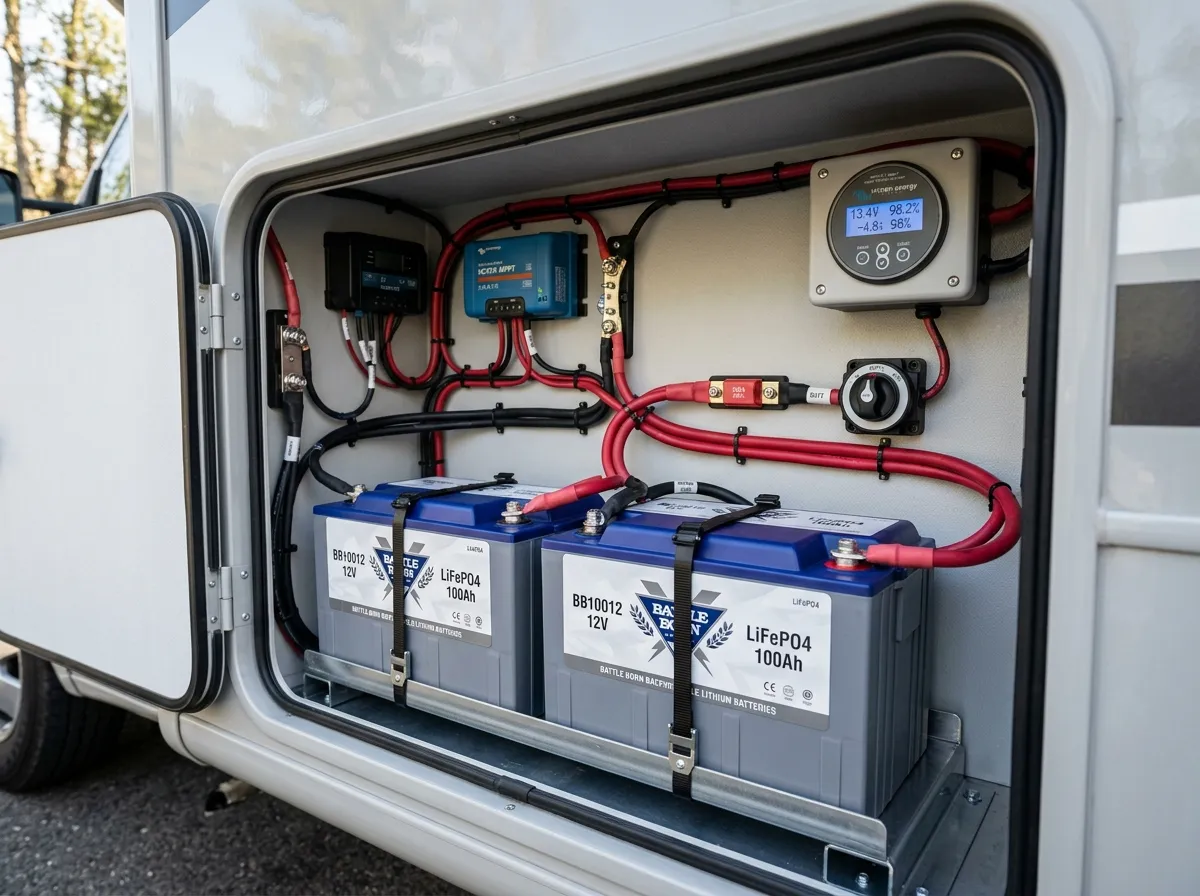
Battery Service
If you removed your batteries for winter, reinstall and reconnect them now. Check terminal connections for corrosion, clean with a baking soda paste if needed, and verify charge level. Lead-acid batteries should read at least 12.6 volts at rest; lithium banks should be near full charge before first use.
Tire Pressure and Condition
RV tires lose 2 to 3 PSI per month during storage. Inflate all tires — including the spare — to the pressure listed on the sidewall or in your owner’s manual. Inspect sidewalls for cracking, bulges, and check the DOT date code. Tires over six years old should be replaced regardless of tread.
Safety Devices and Final Walk-Through
Test every smoke, CO, and LP detector. Replace any unit that has expired — most detectors have a 5- to 7-year lifespan from the manufacture date. Run the generator under load for 15 to 20 minutes if you have one, and verify your tow connections, brakes, and lights all function. The RV Industry Association recommends a complete pre-departure check before any first trip of the season, regardless of how thorough your de-winterization was.
Final Thoughts on Spring De-Winterization
Done right, de-winterizing your RV is one of the most satisfying jobs of the year. You’ll wake up systems that were dormant for months, catch small problems before they become trip-ruining ones, and head into the season knowing every part of your rig is ready for the road.
Before your first long trip, pair this de-winterization with a thorough pre-trip inspection to verify hitches, brakes, and safety systems are road-ready. The combination of a clean spring startup and a careful pre-trip check is the best insurance against breakdowns you’ll find anywhere.