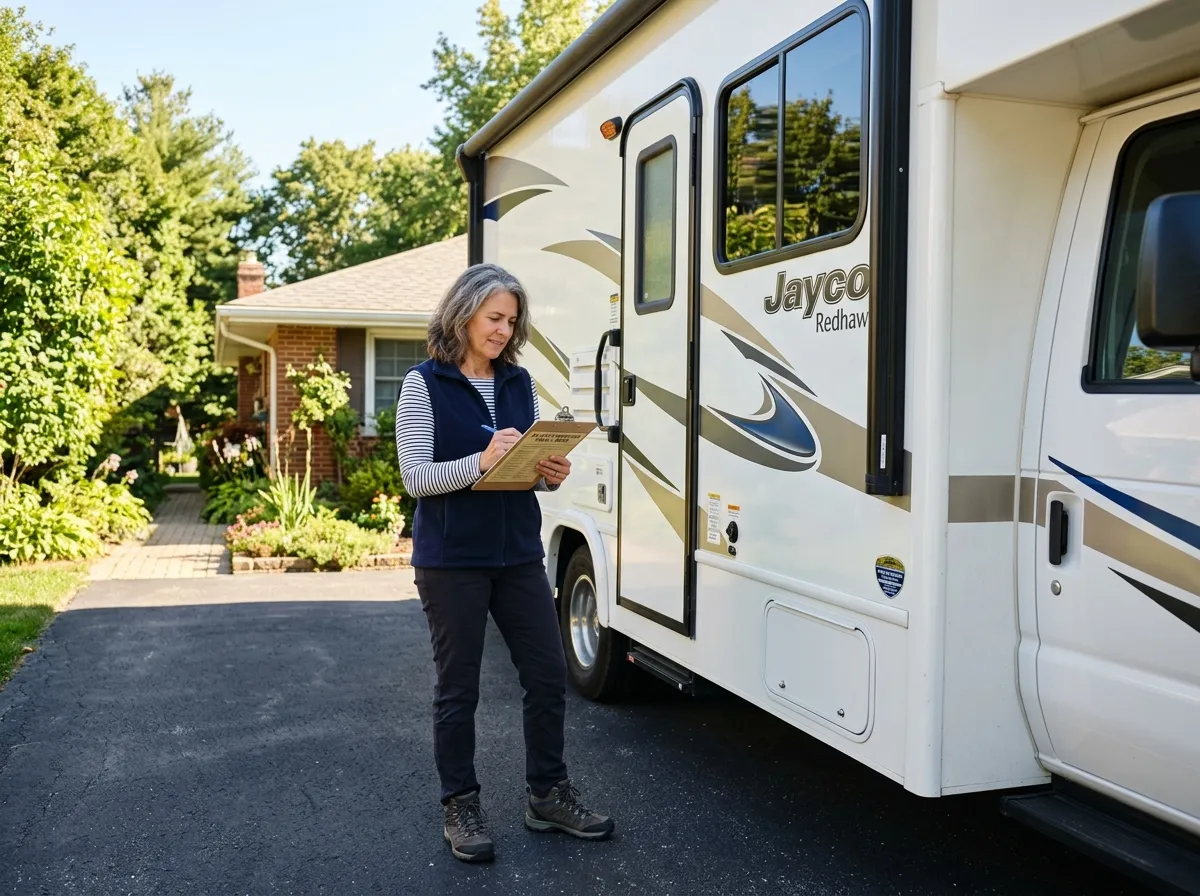
Every seasoned RV owner has a story about the trip that went sideways because of something they forgot to check before leaving. A flat tire three hours from the nearest town. A water pump that stopped working the moment they pulled into a remote campsite. Awning arms that had been rattling loose for months and finally gave out on a windy afternoon.
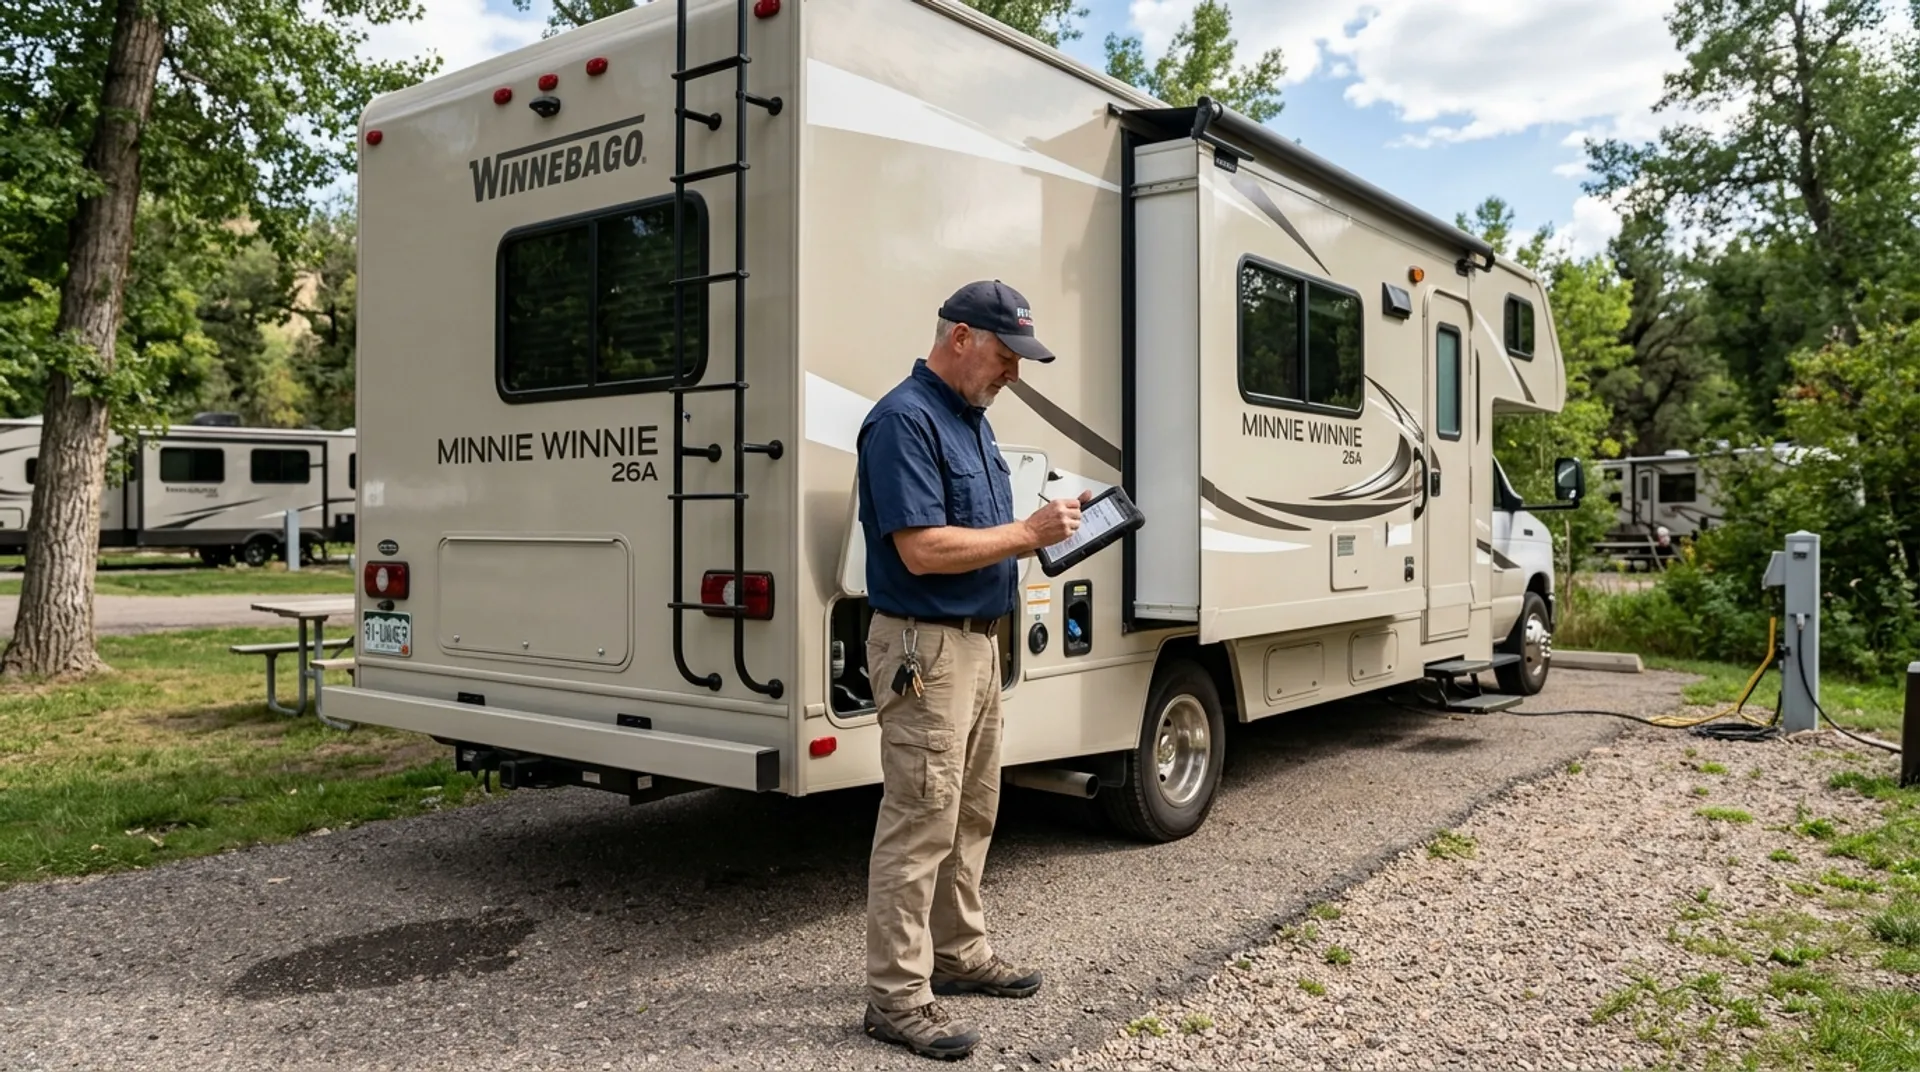
A thorough RV pre-trip inspection checklist eliminates almost all of those surprises. It takes less than an hour, costs nothing, and is the single most effective habit you can build as an RV owner. Whether you are heading out for a weekend or a month-long road trip, this walkthrough covers everything you need to check before you pull out of the driveway.
Why a Pre-Trip Inspection Matters Every Single Time
It is easy to skip the inspection when you just did it last month, or when everything seemed fine at the end of the last trip. The problem is that RVs are essentially houses on wheels that experience constant vibration, road stress, temperature changes, and UV exposure between uses. Connections loosen. Seals dry out. Tire pressure drops. None of these things announce themselves until you are already on the road.
According to the National Highway Traffic Safety Administration (NHTSA), tire failure is among the leading causes of large vehicle crashes and roadside emergencies, and the vast majority are preventable with routine pressure checks and visual inspection before travel. The same principle applies across every system in your RV.
A pre-trip inspection is also the best time to catch issues that developed during storage or the previous trip but were not obvious at the time. It is far easier to deal with a leaking valve seal in your own driveway than at a dump station two states away.
Exterior Inspection – Start Outside Before You Touch Anything Else

Walk a full loop around the RV before doing anything else. You are looking for anything that changed since the last time it moved.
Tires and Wheels
Check tire pressure on all tires, including the spare, using a quality gauge. RV tires require significantly higher pressure than passenger vehicle tires, and the correct PSI will be listed on the tire sidewall or in your owner’s manual. Look for sidewall cracking, bulges, uneven wear, or any object embedded in the tread. Check lug nuts for looseness – they should be torqued to spec, and road vibration can back them off over time.
Exterior Body and Seals
Walk the full perimeter and look at every seam, seal, and joint on the exterior body. Pay close attention to areas around slide-outs, windows, doors, and any roof-to-wall transitions. Cracked or missing sealant is the primary entry point for water damage. Even small gaps should be addressed before the trip, not after. Our RV roof maintenance guide covers what to look for on the roof itself and how to evaluate sealant condition in detail.
Lights and Signals
Test all exterior lights – headlights, brake lights, turn signals, reverse lights, running lights, and marker lights. Have someone stand outside while you operate each one, or use a reflective surface. A blown brake light is a safety hazard and a ticketable offense in every state.
Awning
Inspect awning arms and hardware for secure mounting. If your awning is motorized, extend and retract it once to confirm smooth operation. Look for tears or fraying in the fabric. A partially detached awning arm can cause significant damage at highway speed.
Tow Hitch and Connections
If you are towing a vehicle or trailer behind the RV, inspect the hitch receiver, ball mount, coupler, and safety chains. Confirm all electrical connections are secure and functioning. Test breakaway cables on trailers before departure.
Under the Hood – Engine and Mechanical Checks
Motorhome engine checks are straightforward but genuinely important. This is not something to skip because you recently had service done.
Fluid Levels
Check engine oil, coolant, brake fluid, power steering fluid, and windshield washer fluid. Low coolant on a long trip can lead to engine overheating – one of the most damaging and preventable mechanical failures. Top off anything that is below the recommended level and note any fluid that looks unusually dark, milky, or contaminated.
Belts and Hoses
Visually inspect accessible belts and hoses for cracking, fraying, or swelling. A snapped serpentine belt will disable the engine immediately. Hoses that feel soft, brittle, or show surface cracking are overdue for replacement.
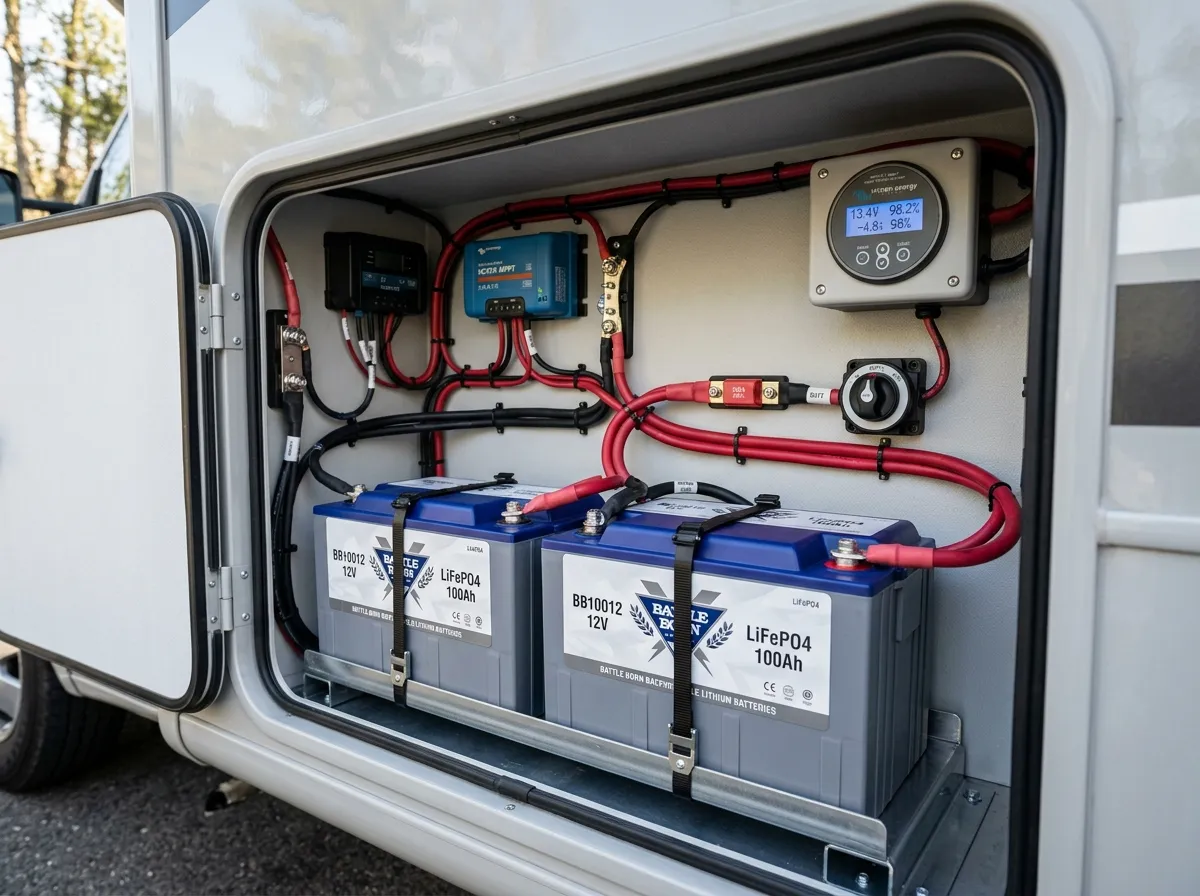
Battery Condition
Check both the chassis battery and the house batteries. Look for corrosion on terminals, clean them with a wire brush if needed, and confirm connections are tight. A weak chassis battery that starts fine in your warm driveway may fail completely in cold morning temperatures at elevation. For more detail on what to look for in the electrical system, see our guide on common RV electrical problems and how to diagnose them.
Brakes
If your RV has air brakes, check the air pressure and listen for leaks. For hydraulic brake systems, check fluid level and watch for any sponginess or pulling when you test brake engagement in the driveway at low speed. The Federal Motor Carrier Safety Administration’s guidance on brake safety applies directly to larger motorhomes and is a useful reference for understanding what adequate brake performance looks and feels like.
Interior Systems – Water, Gas, and Electrical
Interior system checks confirm that your living systems are ready to function the moment you arrive at a campsite, not after an hour of troubleshooting in the dark.
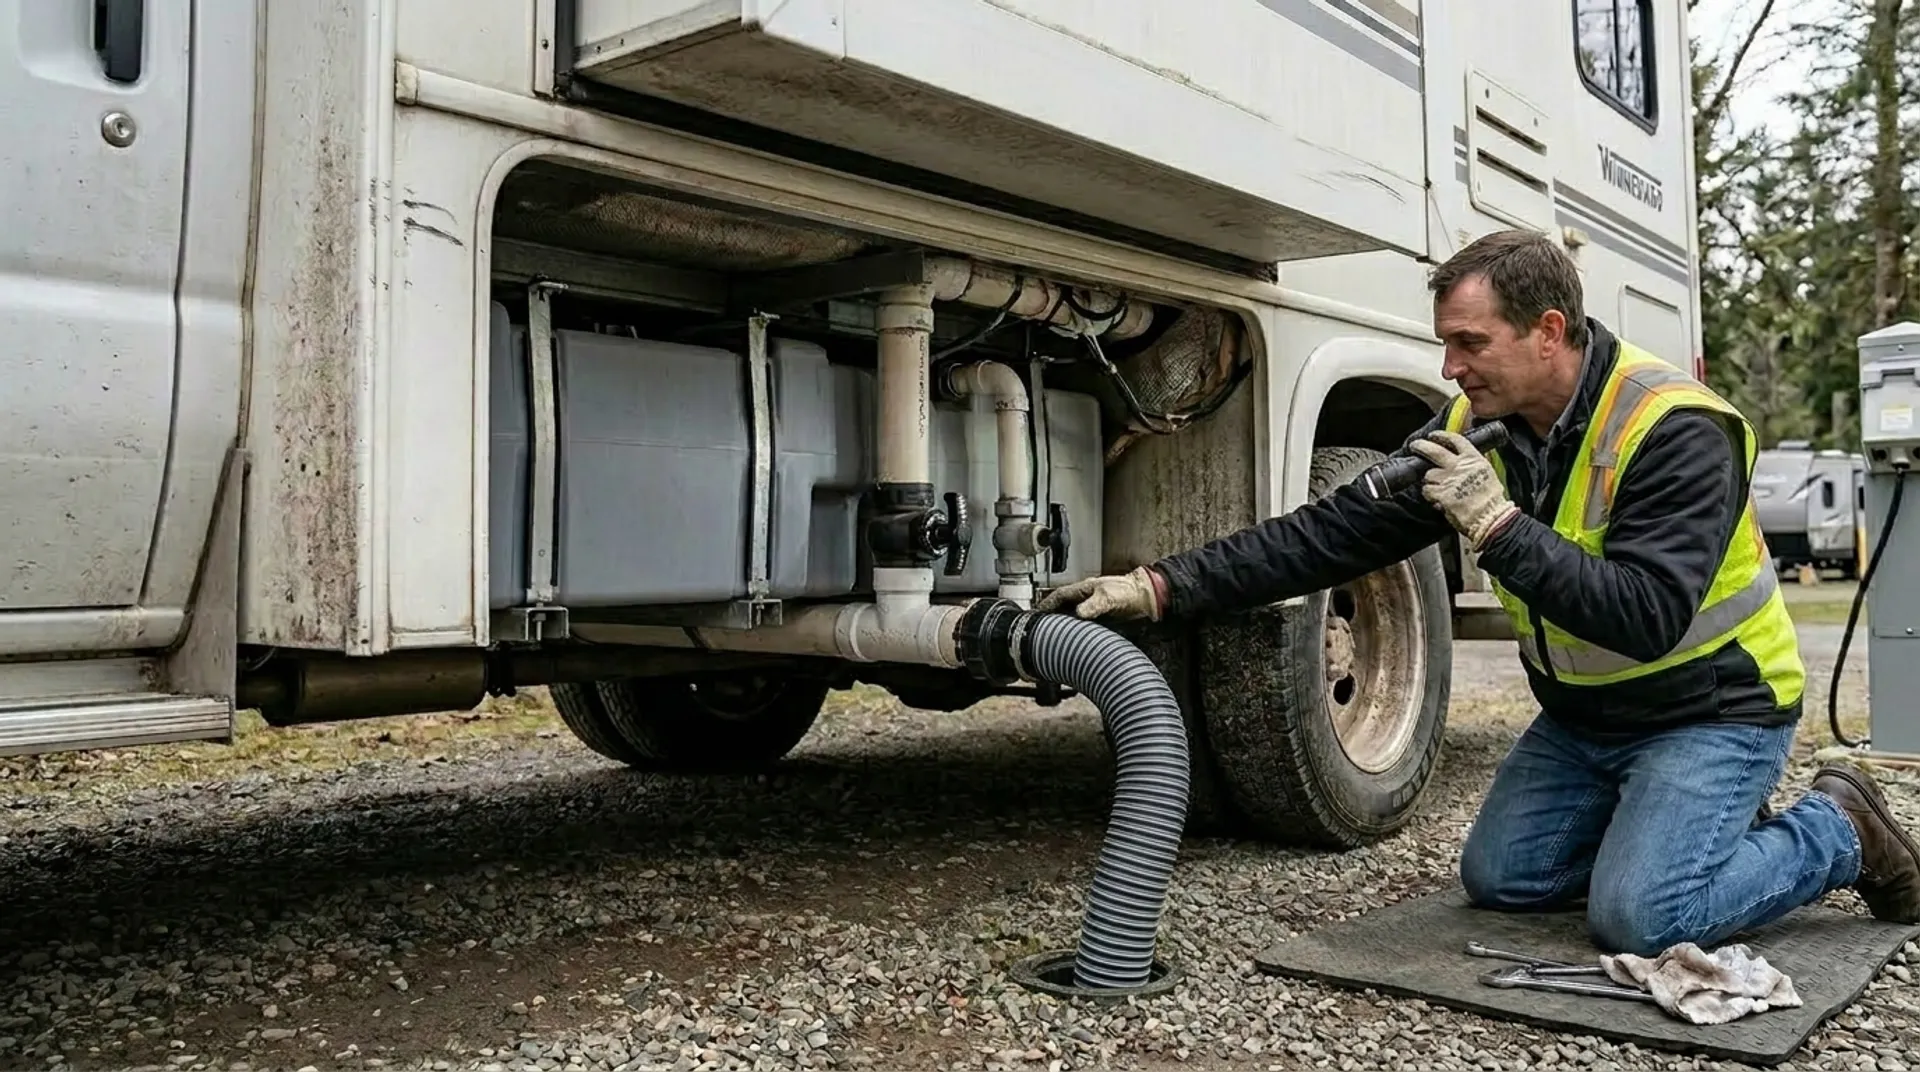
Fresh Water System
Turn on the water pump and run each faucet briefly to confirm water flows and pressure is normal. Listen for the pump cycling excessively, which can indicate a small leak in the line. Check under sinks and around the water heater for any signs of moisture or dripping connections. If you notice unusual odors or pressure issues, our RV water system maintenance guide walks through the most common causes and how to address them before hitting the road.
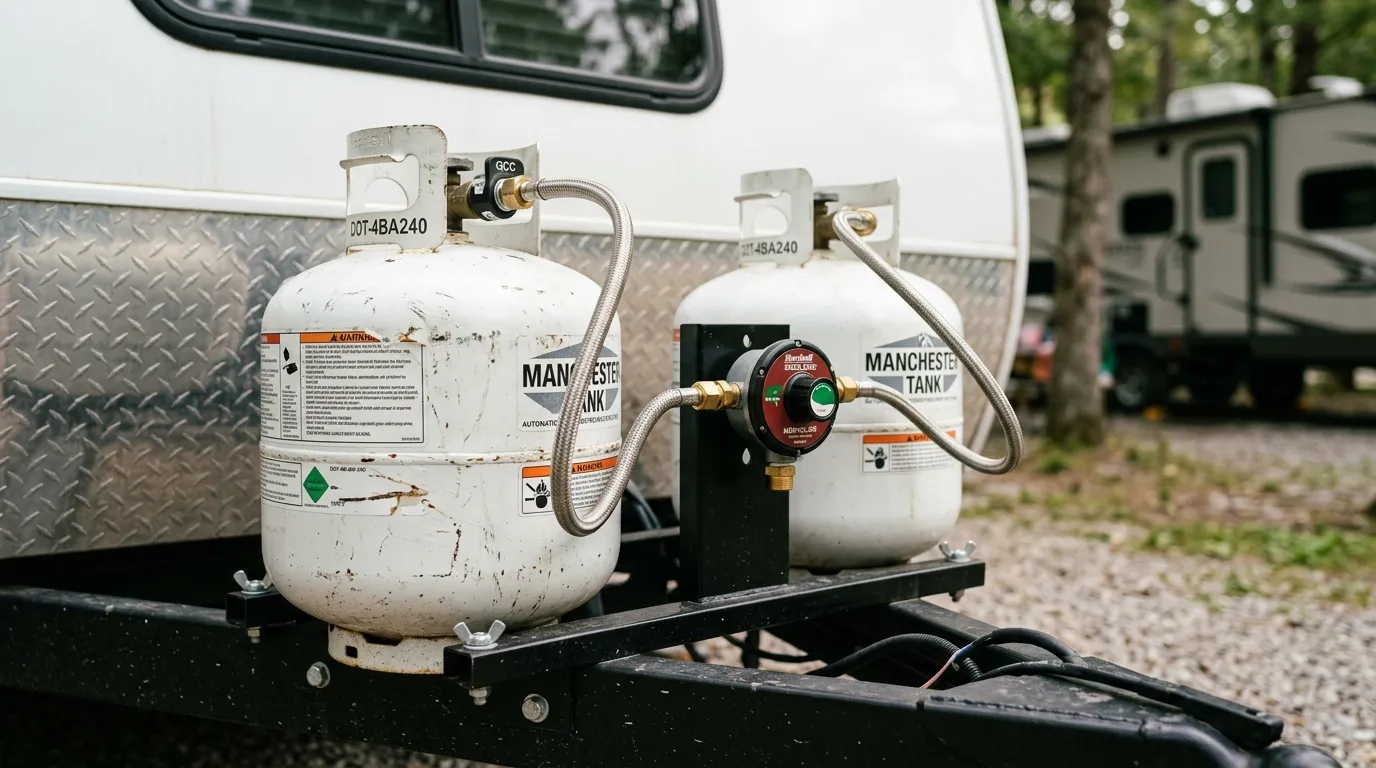
Propane System
Check propane tank levels and inspect the regulator and visible lines for any sign of damage. Conduct a basic leak test using soapy water on all connection points – bubbling indicates a leak that must be repaired before travel. Turn on each propane appliance briefly to confirm ignition. The National Fire Protection Association’s LP gas safety guidelines outline best practices for safe propane handling and leak detection.
Electrical System
Test interior lights, outlets, and any 12V accessories. If your RV has a generator, run it for a few minutes under light load to confirm it starts and runs cleanly. Check the converter or inverter indicator lights for any fault codes. Flickering lights, tripped breakers, or outlets that do not function are worth diagnosing before departure.
Slide-Outs
Extend and retract each slide-out through a full cycle. Listen for grinding or hesitation, and watch for any misalignment at the seals. A slide-out that works slowly or unevenly may have a motor or gear issue that will worsen under repeated use on the road.
Safety Equipment – Never Skip This Section

Safety equipment checks take only a few minutes but are non-negotiable. This is the section that saves lives rather than just preventing inconvenience.
Smoke and Carbon Monoxide Detectors
Test every smoke and CO detector by pressing the test button. Replace batteries at the start of every travel season regardless of how they test. Carbon monoxide is odorless and colorless – a detector that is working correctly is the only warning you will get.
Fire Extinguisher
Confirm the extinguisher is mounted securely in its bracket, the pressure gauge reads in the green zone, and the pull pin and tamper seal are intact. Know where it is and how to use it before you need it.
First Aid Kit
Check that the kit is stocked and that nothing has expired. Replace anything that was used on the last trip.
Emergency Exit and Door Function
Open and close all entry doors and emergency exit windows to confirm they operate freely and latch securely. A door that drags or does not latch properly on the road is a safety hazard and a security problem at campgrounds.
Before You Drive Away – Final Walkthrough
After completing all systems checks, do one final walk around the RV specifically looking for things that should not move while driving.
Stow and Secure Everything
Cabinet latches, refrigerator door locks, and any items stored on counters or shelves must be secured. A loose pot or heavy item that shifts during braking can cause injury and damage. Retract the step, close all exterior compartment doors and confirm they are latched, and stow any outdoor items that were left out.
Check Roof Vents and Antennas
Roof vents left open will be ripped off at highway speed. Antennas that were extended for TV reception must be lowered. This is one of the most common and entirely avoidable sources of expensive roof damage.
Confirm Slide-Outs Are Fully Retracted
Walk the full exterior one more time to visually confirm every slide-out is fully retracted and flush with the body. Do not rely on the monitor panel alone – confirm with your eyes.
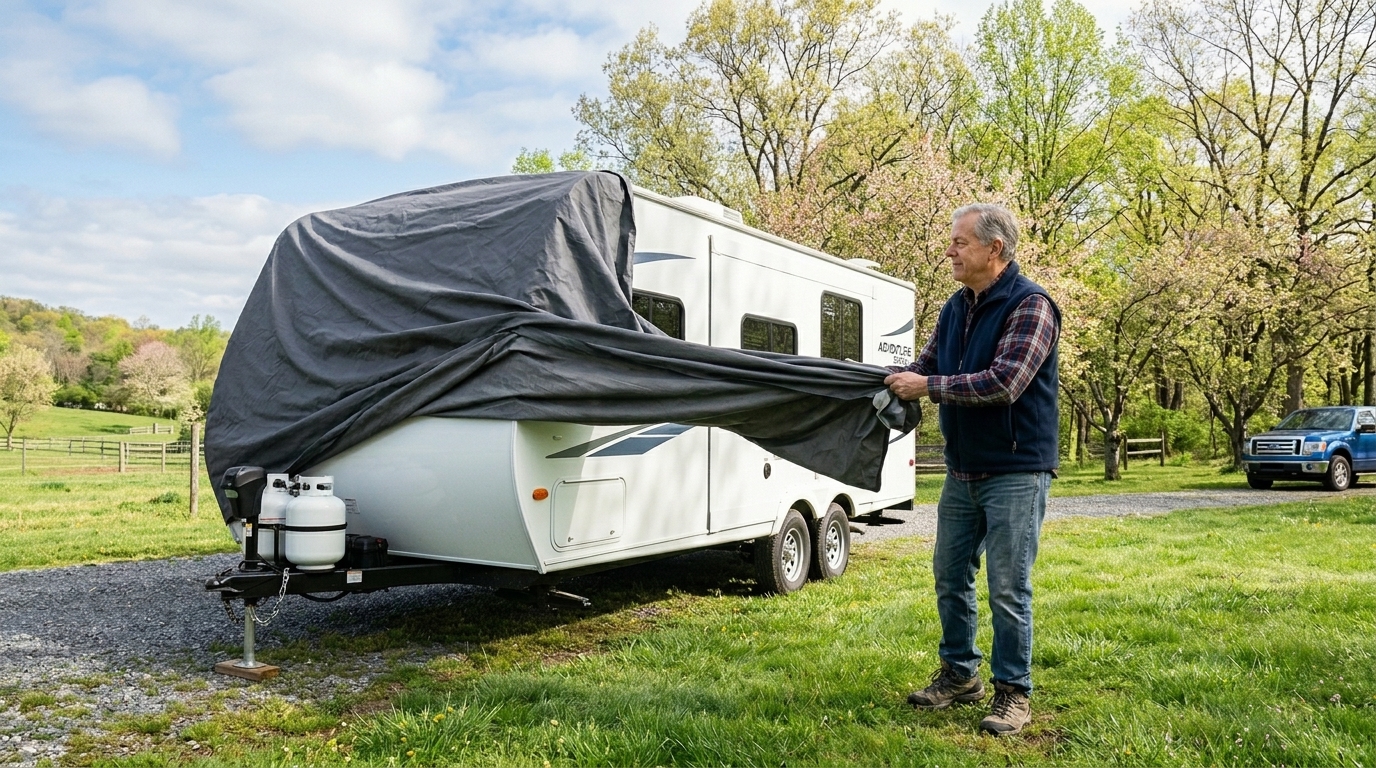
If your RV has been sitting in storage before this trip, the pre-trip inspection should be expanded to include the full de-winterization and storage check procedures outlined in our guide on preparing your RV for long-term storage, which covers what to inspect when bringing a vehicle back into service after extended time off the road.
Make the Checklist a Habit, Not a Chore
The RV owners who never seem to have problems on the road are not lucky – they are consistent. An RV pre-trip inspection checklist done before every single trip, even a short weekend outing, builds the kind of familiarity with your vehicle that makes small issues obvious long before they become expensive ones. You will start to notice when something feels slightly different from last time, when a connection that was always tight now has just a little play in it, or when the pump sounds slightly different than it did before.
Print this checklist, save it on your phone, or build your own version based on your specific RV systems. The format matters less than the habit. For a deeper look at any of the systems covered here, browse the full Heartland RV Repair Library where every major RV system has its own dedicated maintenance and troubleshooting guide.